PLA Starter Lithophane CMYK – a set of filaments for catching moments
:fill(white)/6d4cde3d83c09fbfb6eea183b7a06217)
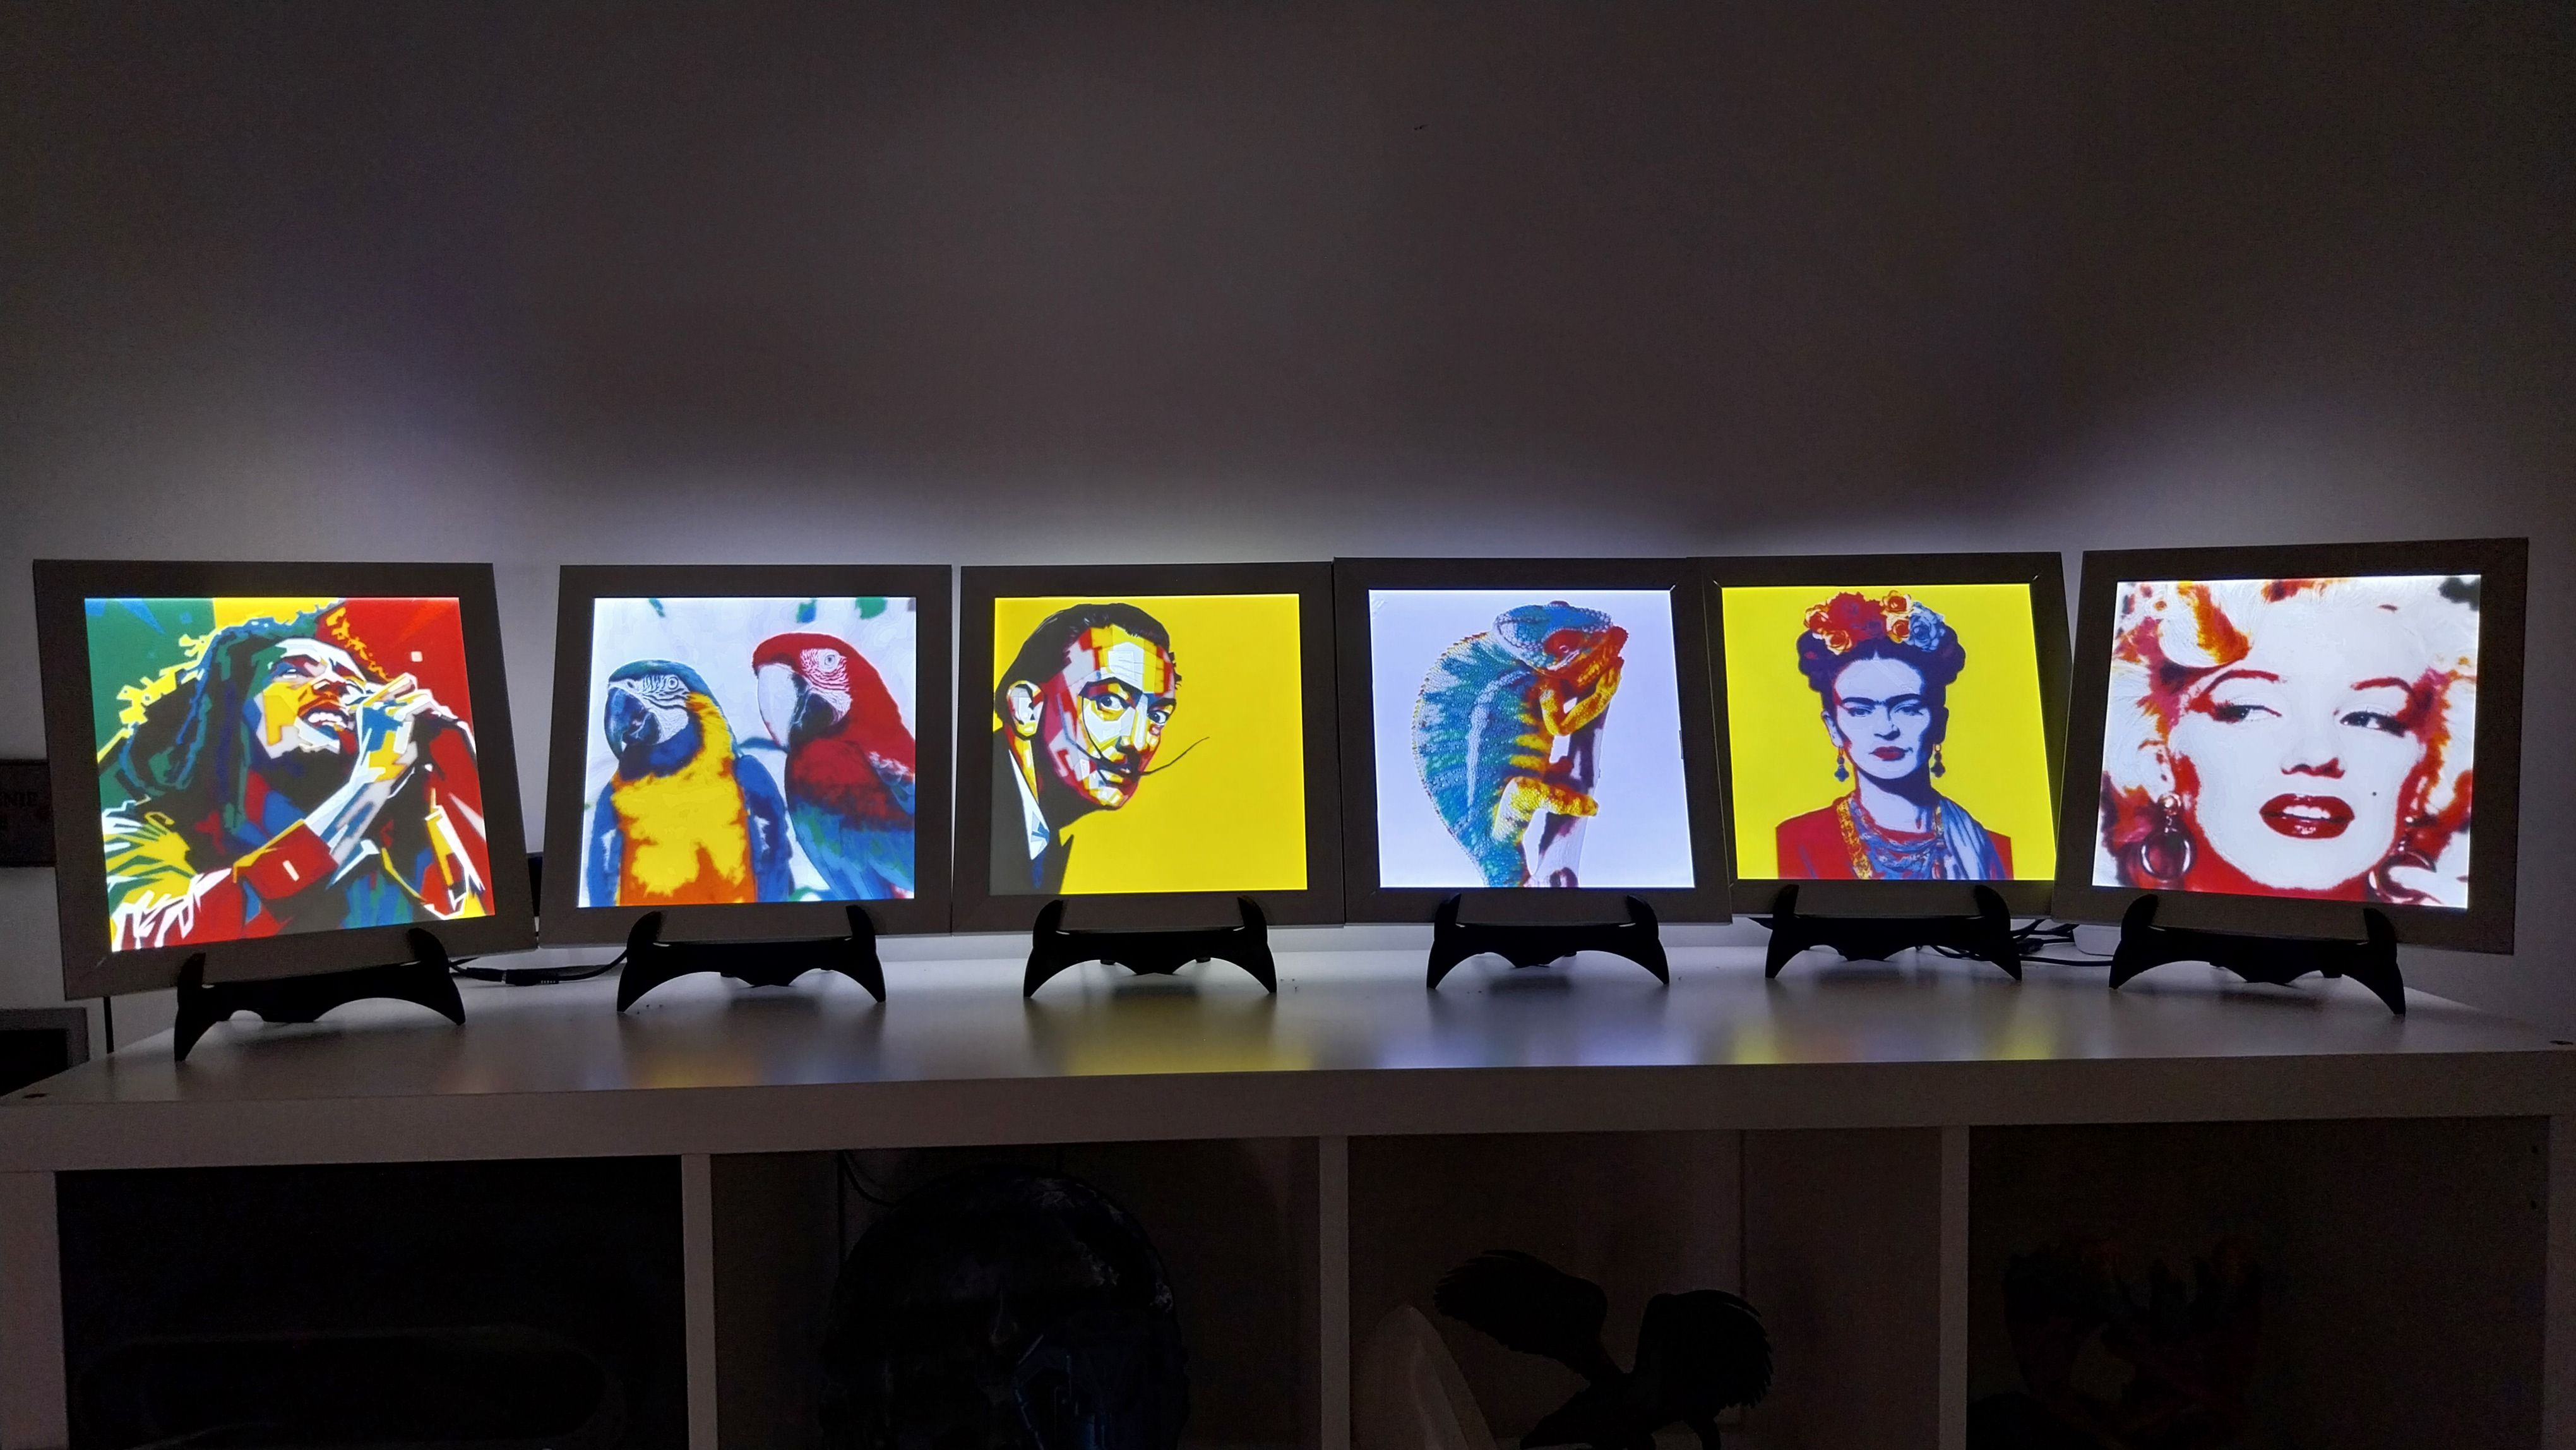
Printing colorful lithophanes has never been this easy before! This guide includes instructions on how to build an affordable night lamp with colorful lithophanes. NOTE – This guide is intended for users of Bambu Lab printers with AMS, excluding the A1 Mini model.
The first mentions of lithophanes can be traced back to the 18th century, and in 1827, Baron Paul de Bourgoing patented a production method. Lithophanes were created by molding a thin porcelain plate using precise molds or matrices. The varying thicknesses of the material affect the amount of light passing through—thinner areas appear brighter, while thicker areas are darker. This creates a three-dimensional image that comes to life when backlit. Porcelain was the most commonly used material for lithophanes due to its white, semi-translucent nature, which made it ideal for this purpose. However, with the invention of new lighting technologies and the emergence of more modern decorative techniques, the popularity of lithophanes began to decline toward the end of the 19th century.
With the development of 3D printing, lithophanes have regained popularity, as they can now be produced without the need for special molds—and even in color. Printing colorful lithophanes is similar to the process used in inkjet printers when printing graphics. During the printing process, colors from the CMYK palette are layered on top of each other to create different colors.
To create colorful lithophanes, you need a 3D printer with a filament changer that supports at least four spools, along with a specialized program that automatically converts the image into a CMYK color palette. Bambu Lab has developed a method to simplify the entire process. For the best results, we recommend our ROSA3D PLA Starter Lithophane CMYK set. These filaments are easy to print, reliable, and accurately reproduce CMYK colors. The provided link includes printable models. The guide contains step-by-step instructions on how to generate a .3mf lithophane files and assemble the night lamp.
How to start?
First, you need to decide what you want to print. Suitable options for this type of application include personal photos, custom graphics, or images found online. Next, go to the Make My Lithophane website.
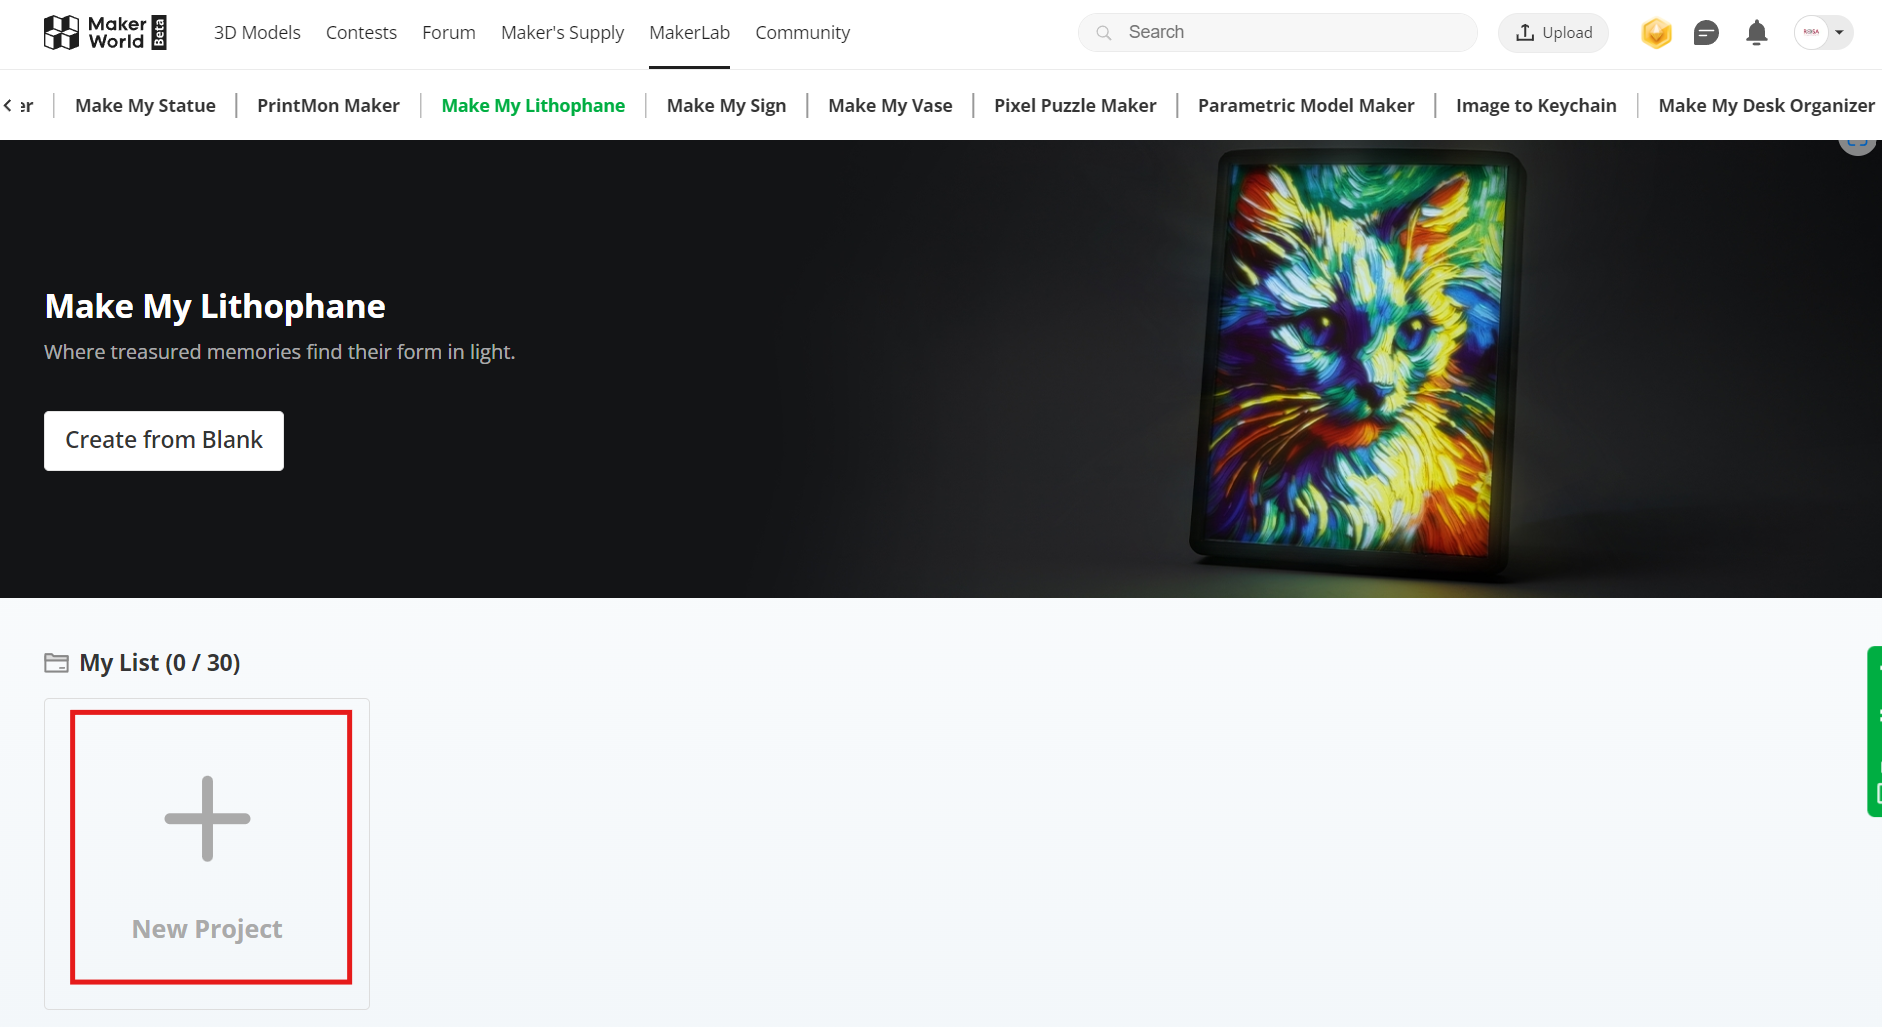
Once you enter the website, click on the area marked with a red rectangle to start a new project.
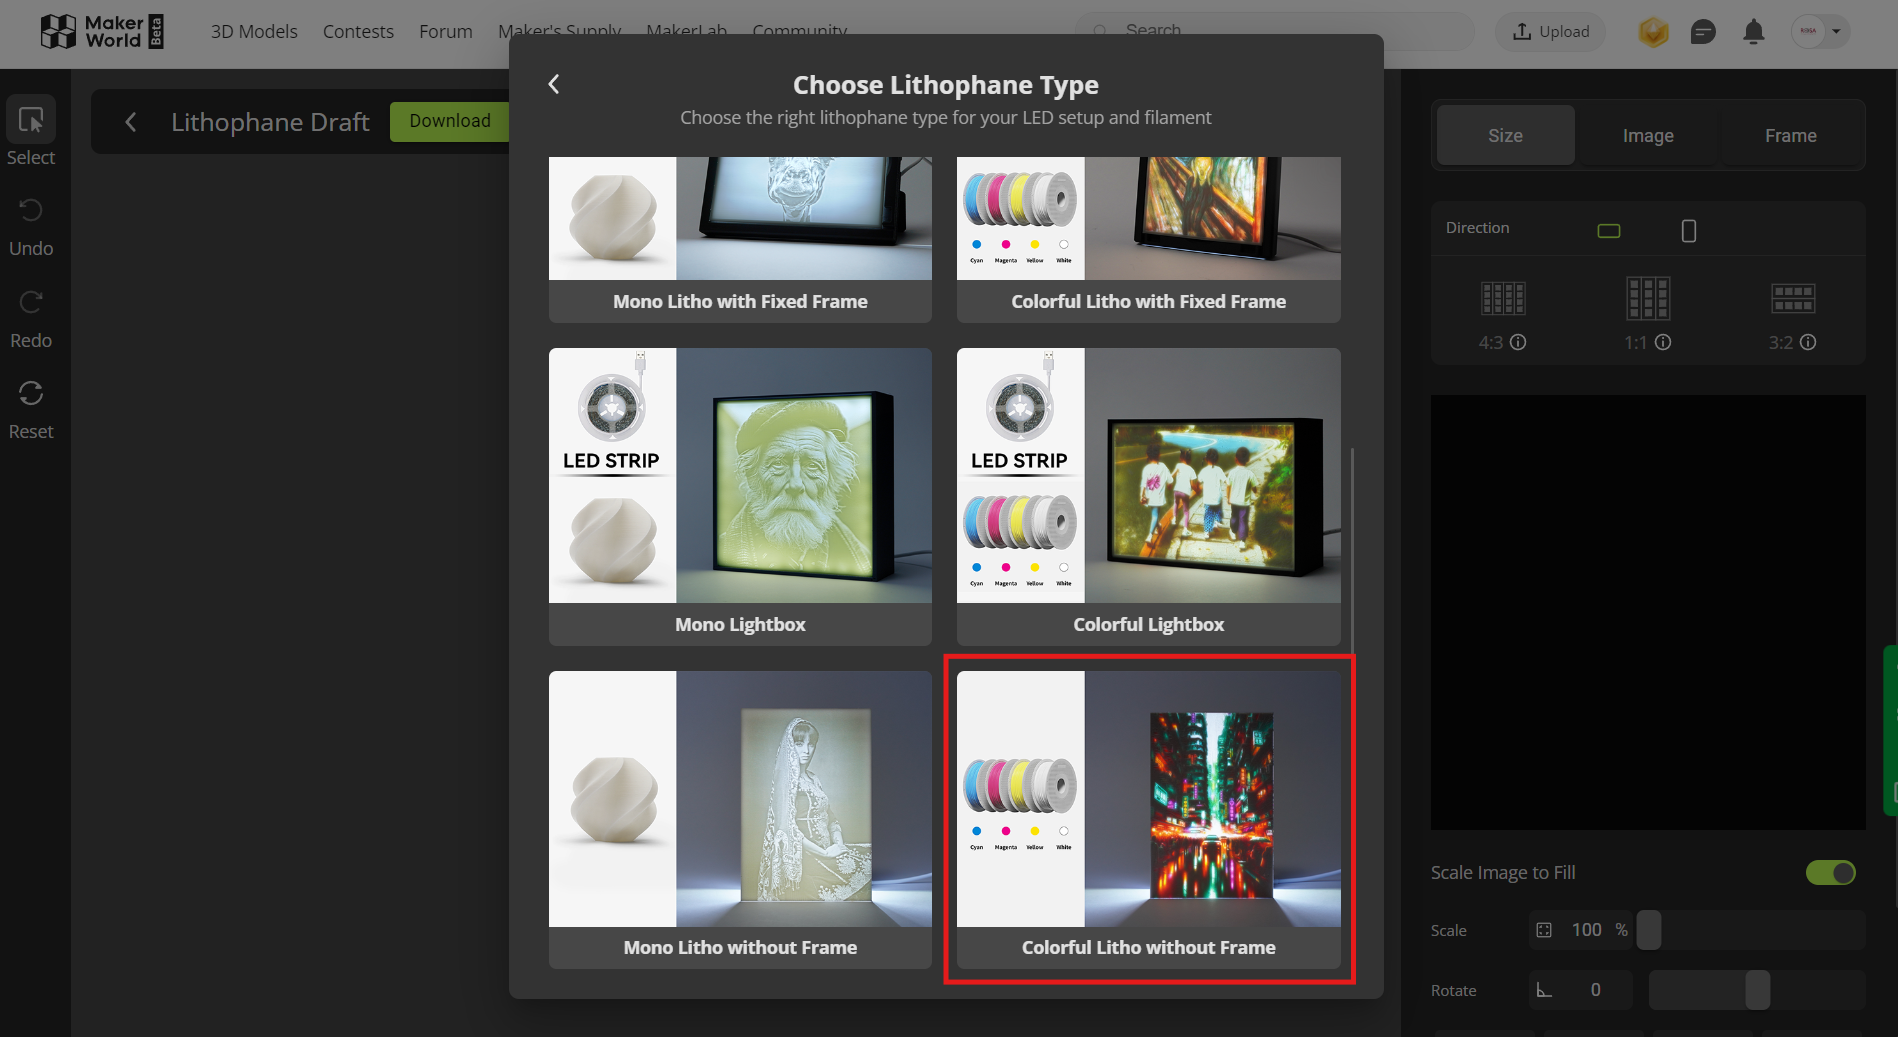
Select the highlighted type of lithophane.
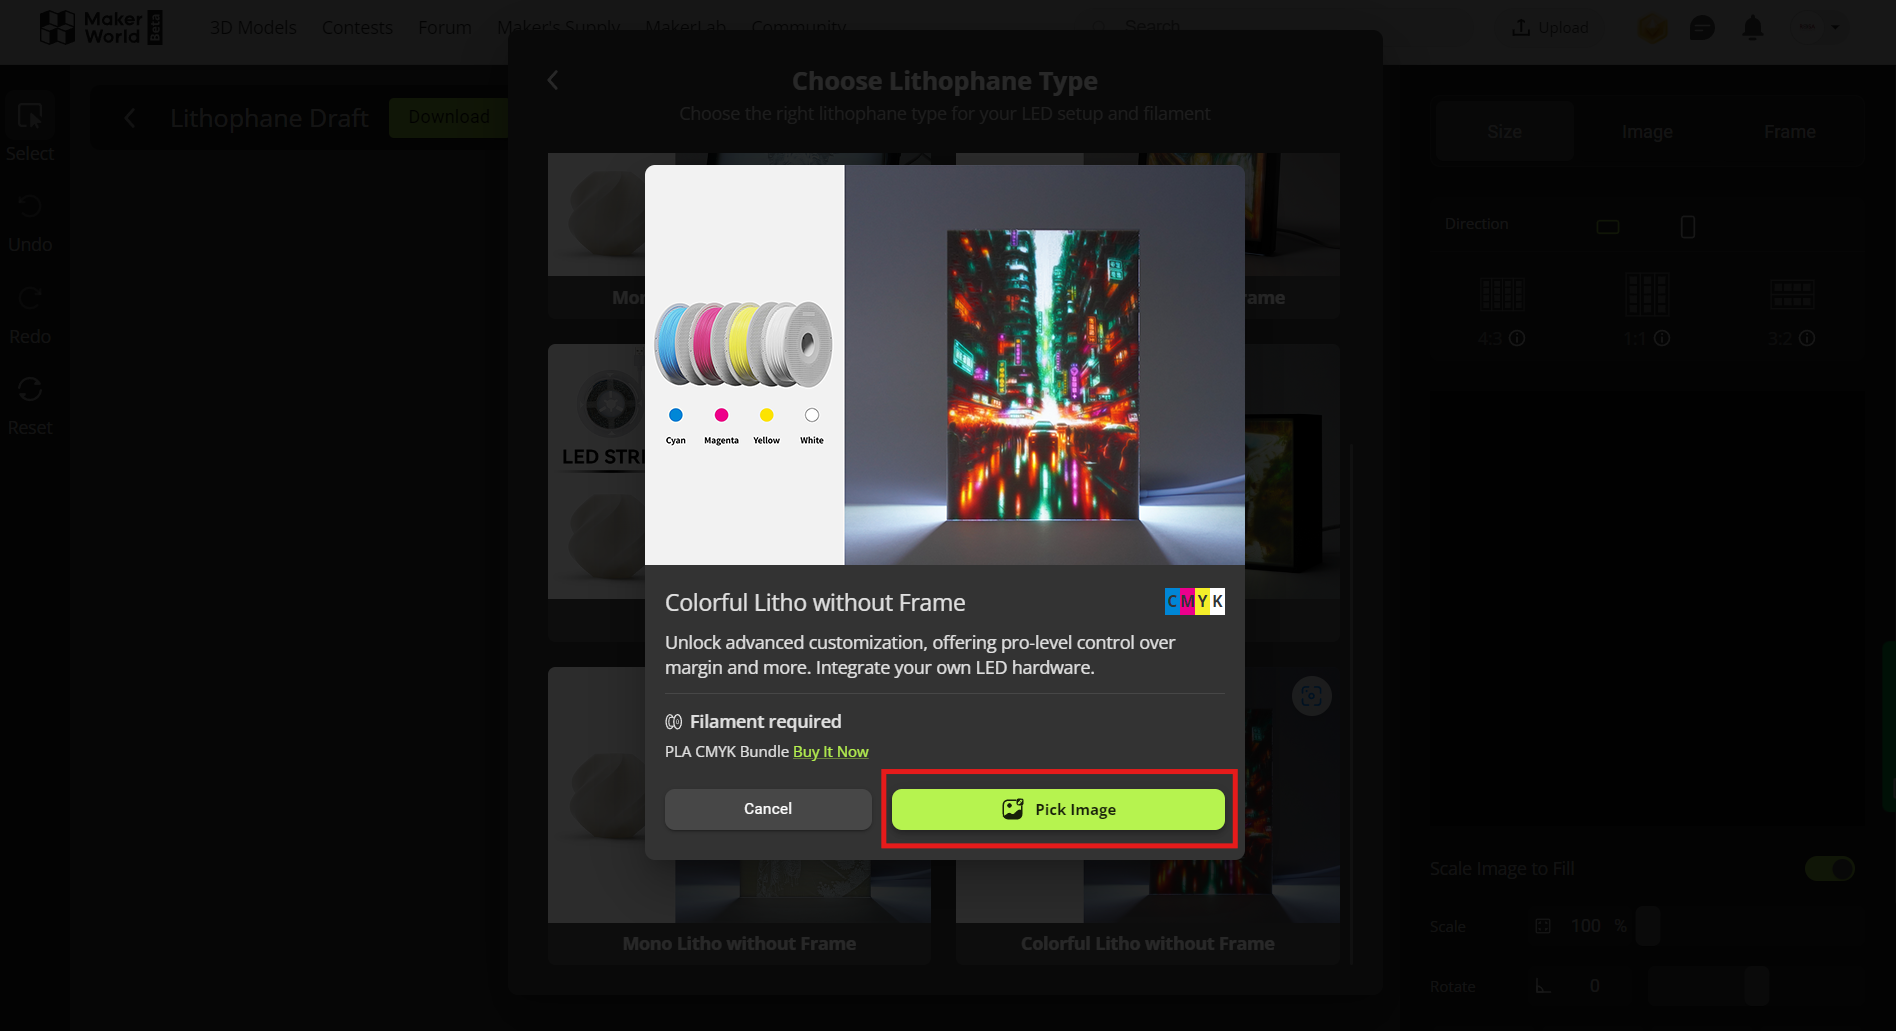
Select the photo you want to convert into a lithophane.
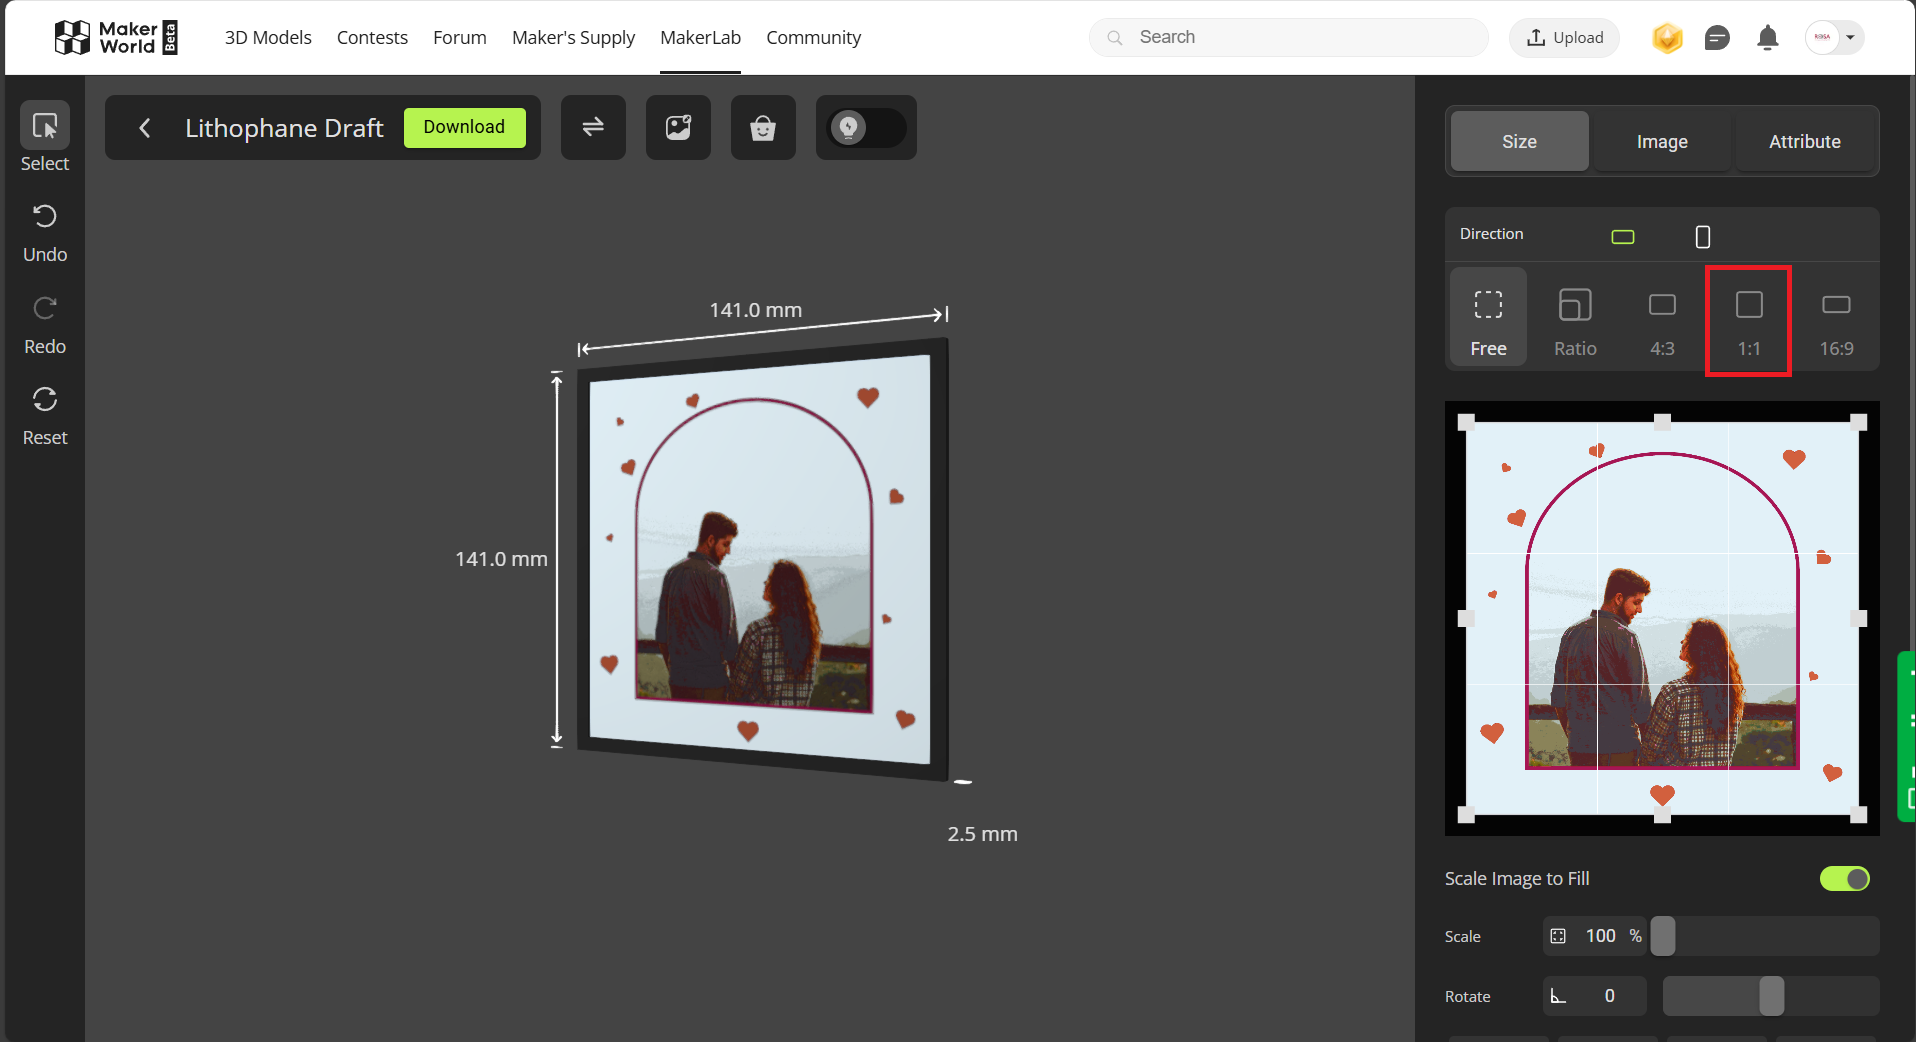
In the Size tab, you can adjust the proportions and dimensions of the image. For this project, set the aspect ratio to 1:1.
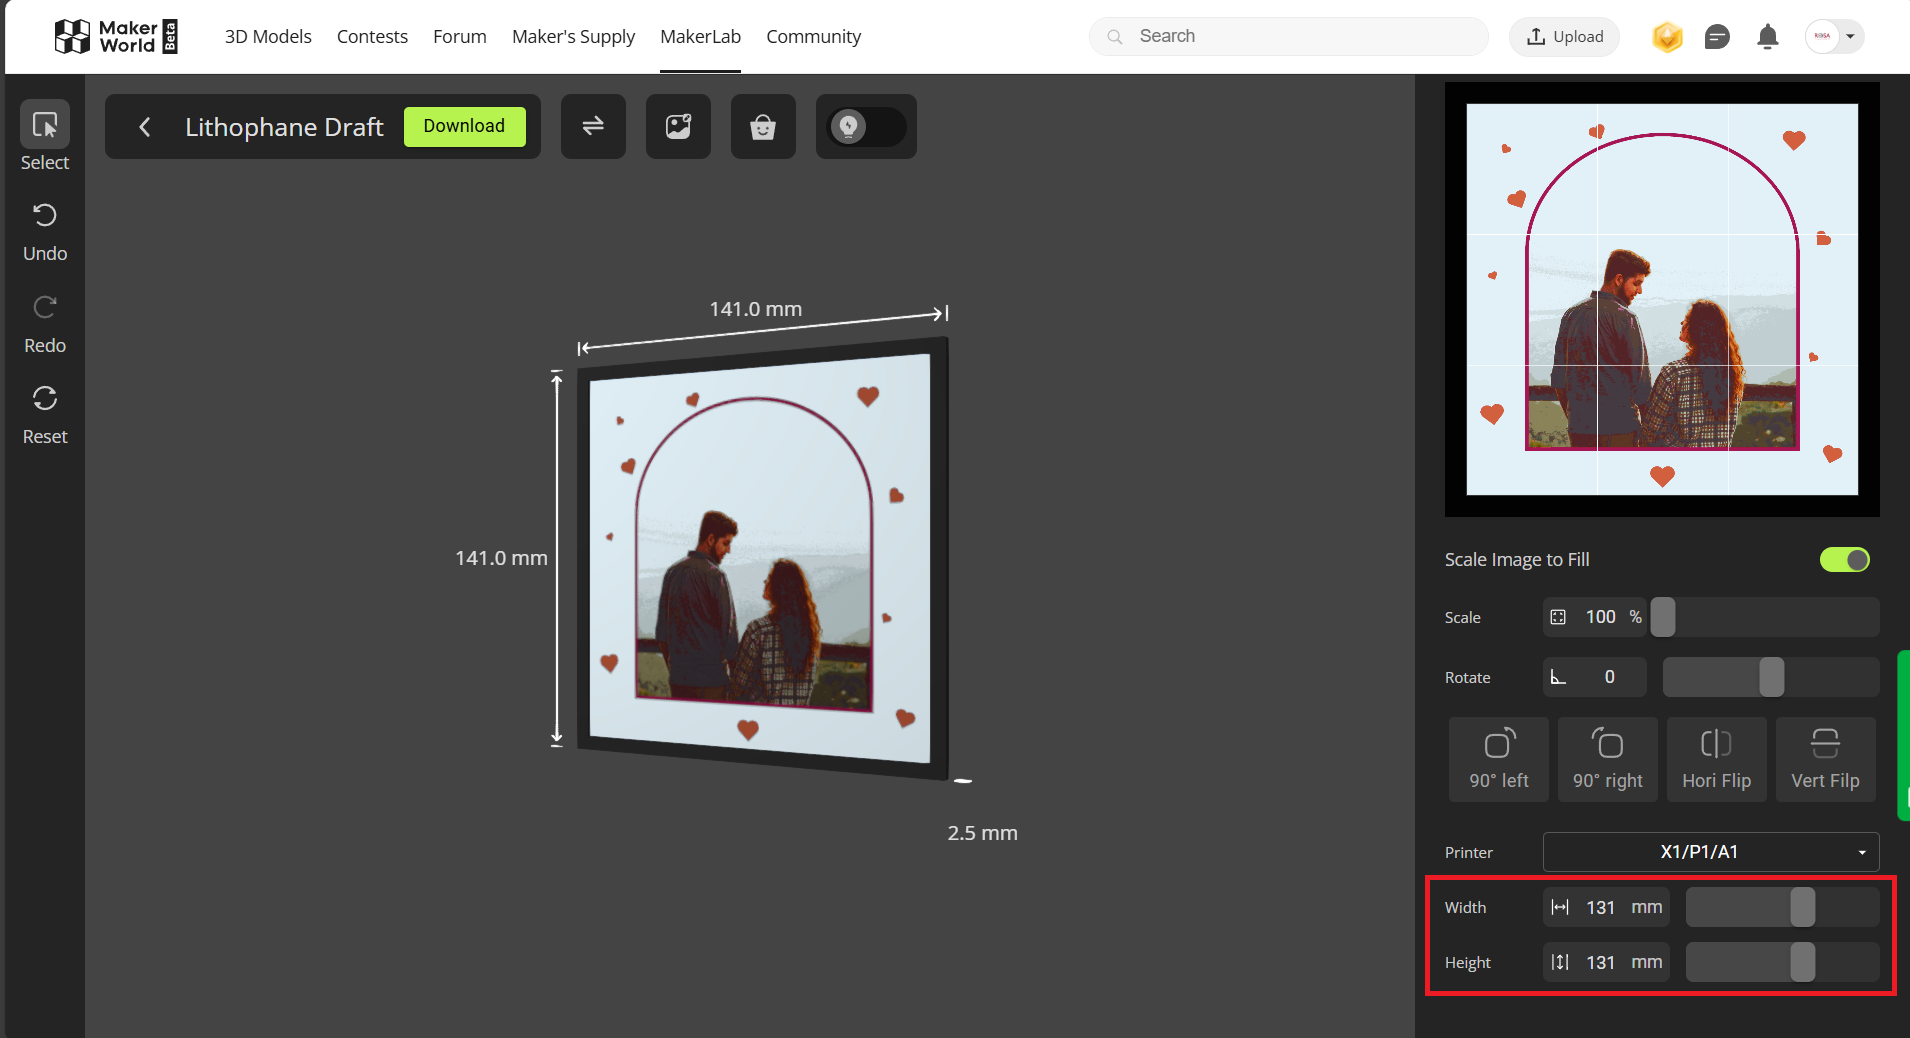
In the same Size tab, scroll down to the bottom and set the Width and Height to 131 mm.
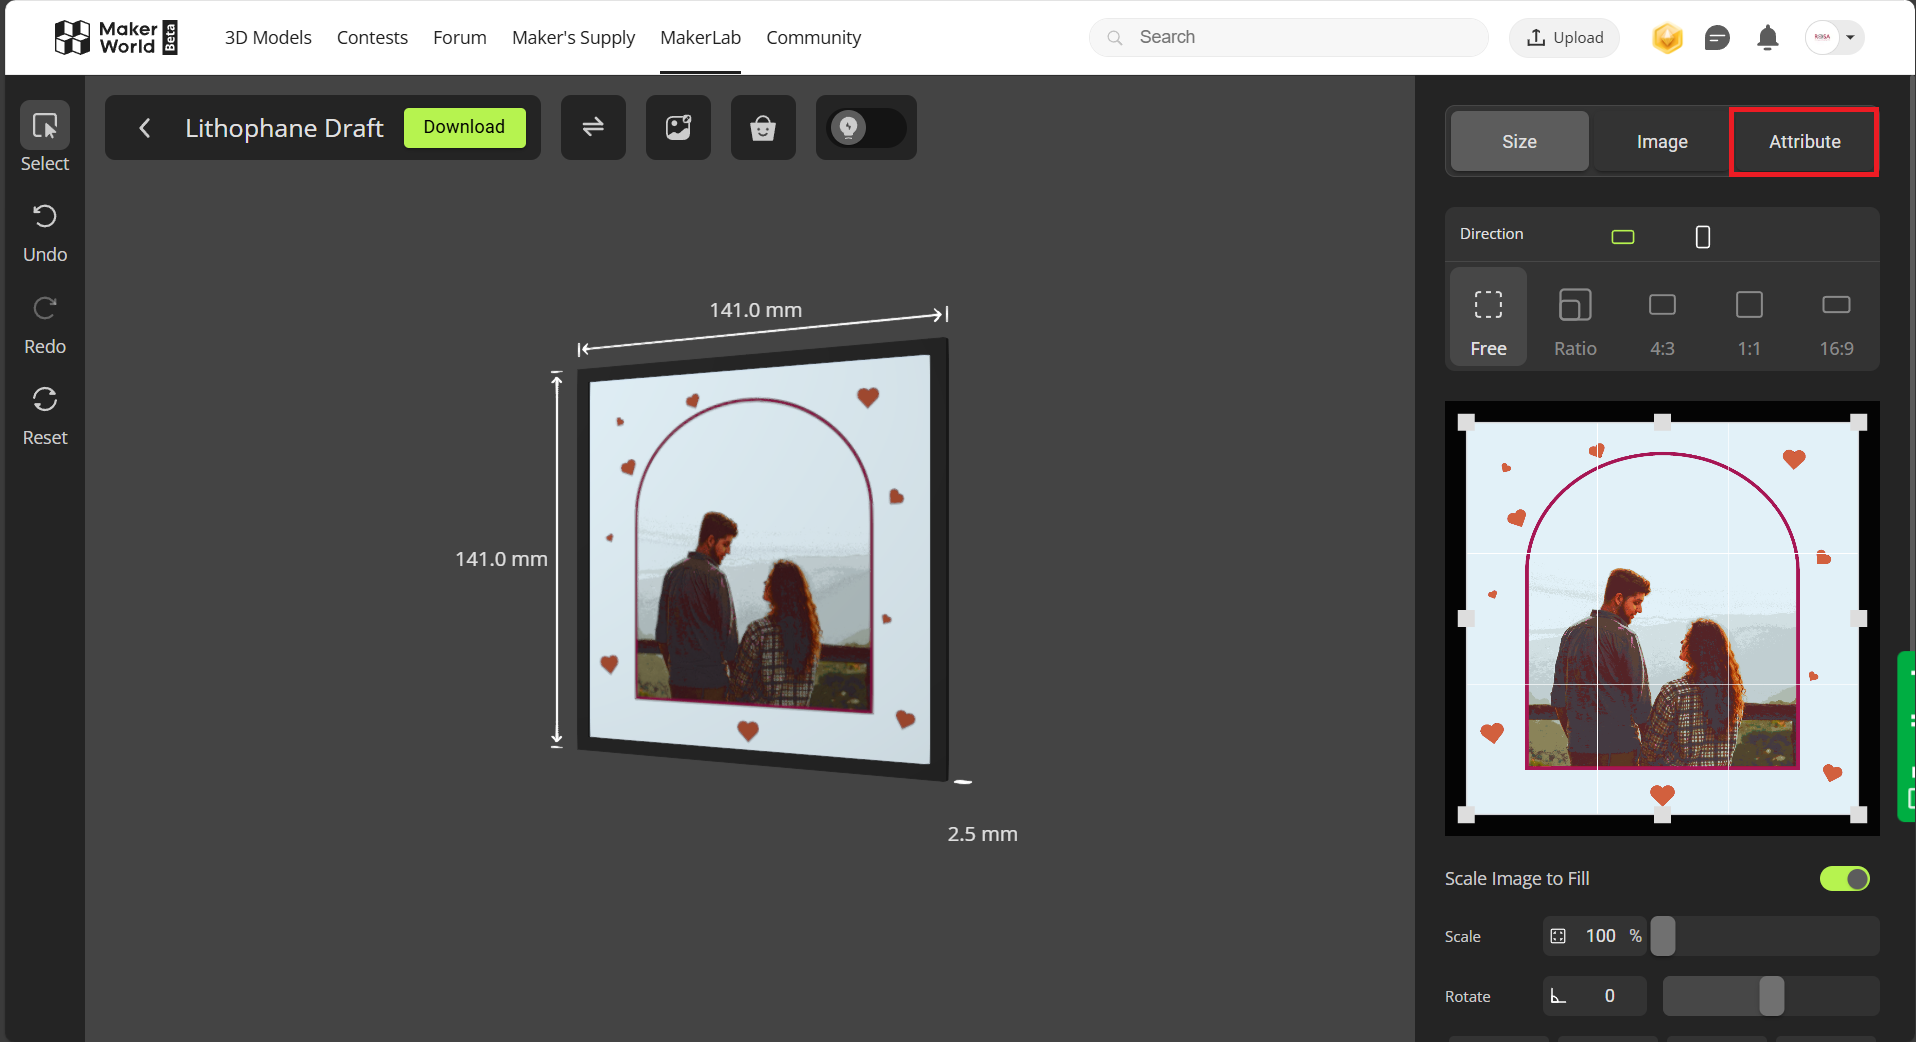
Next, navigate to the Attribute tab.
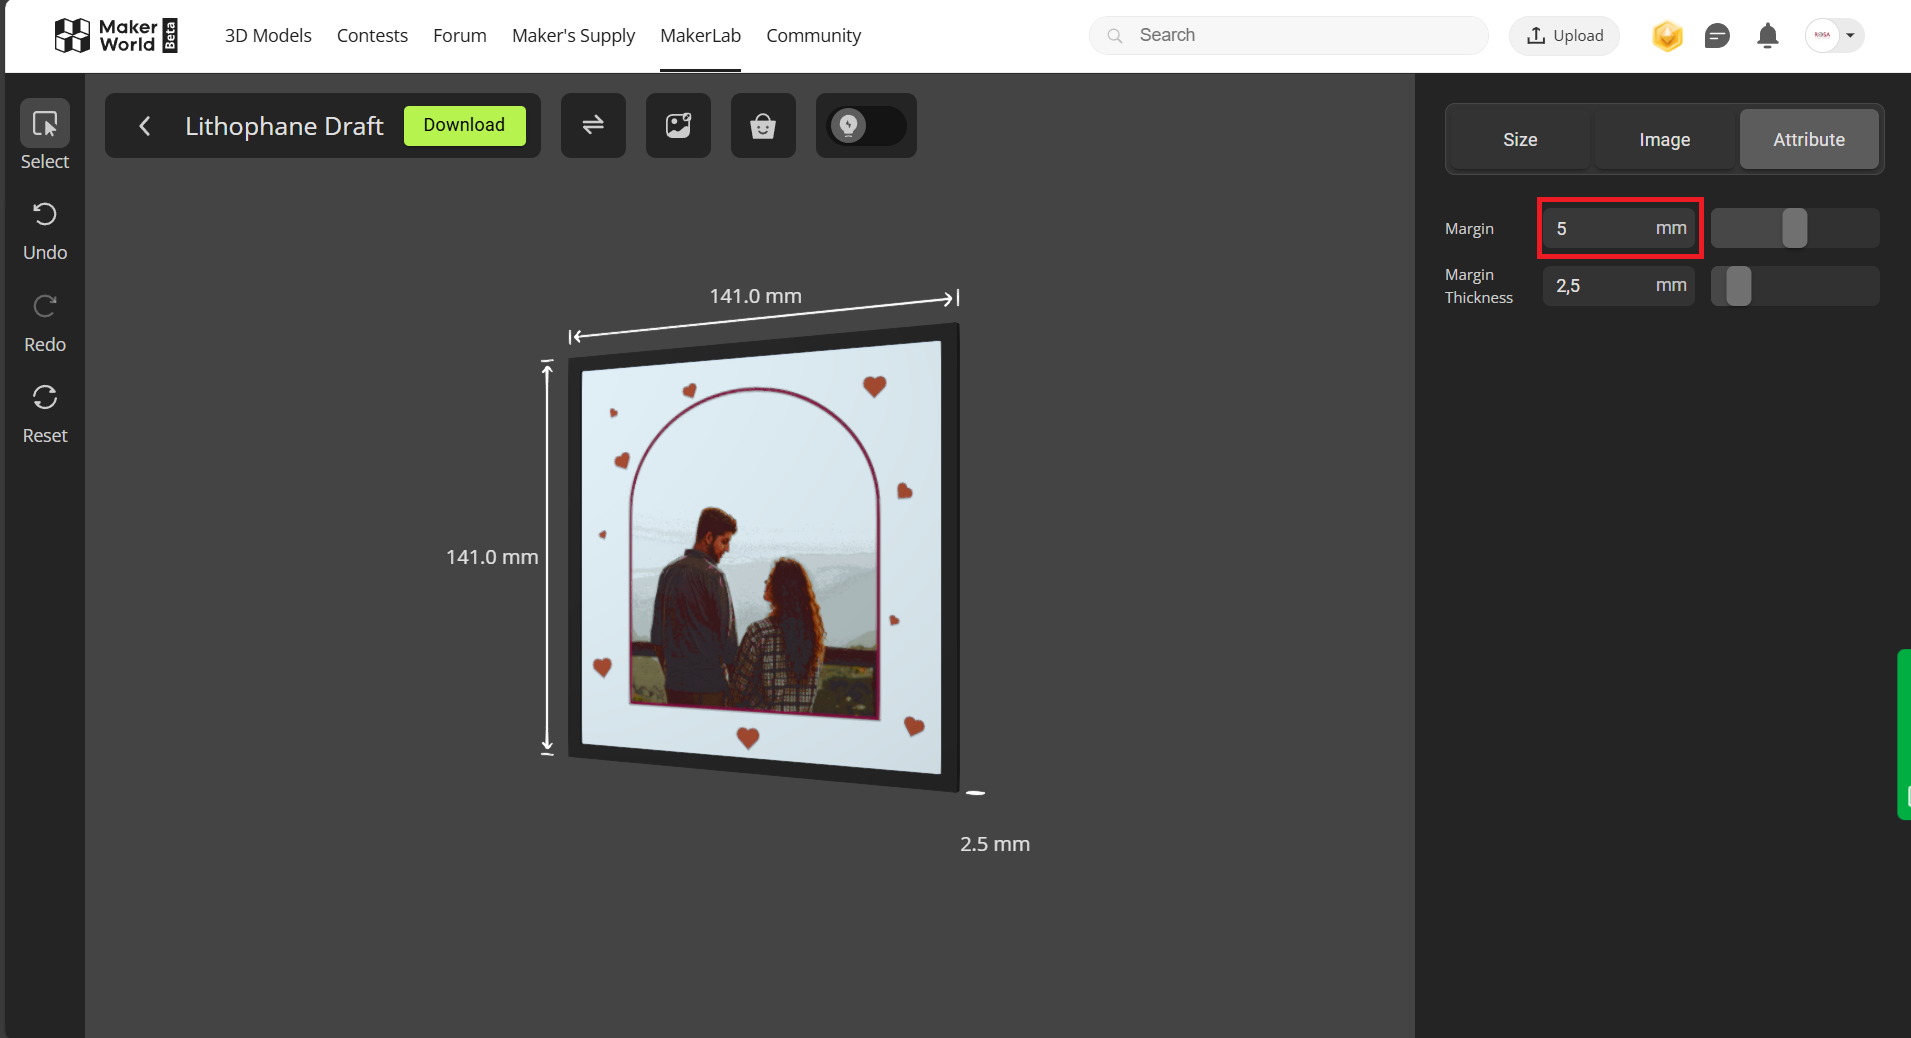
In the Attribute tab, set the Margin to 5 mm.
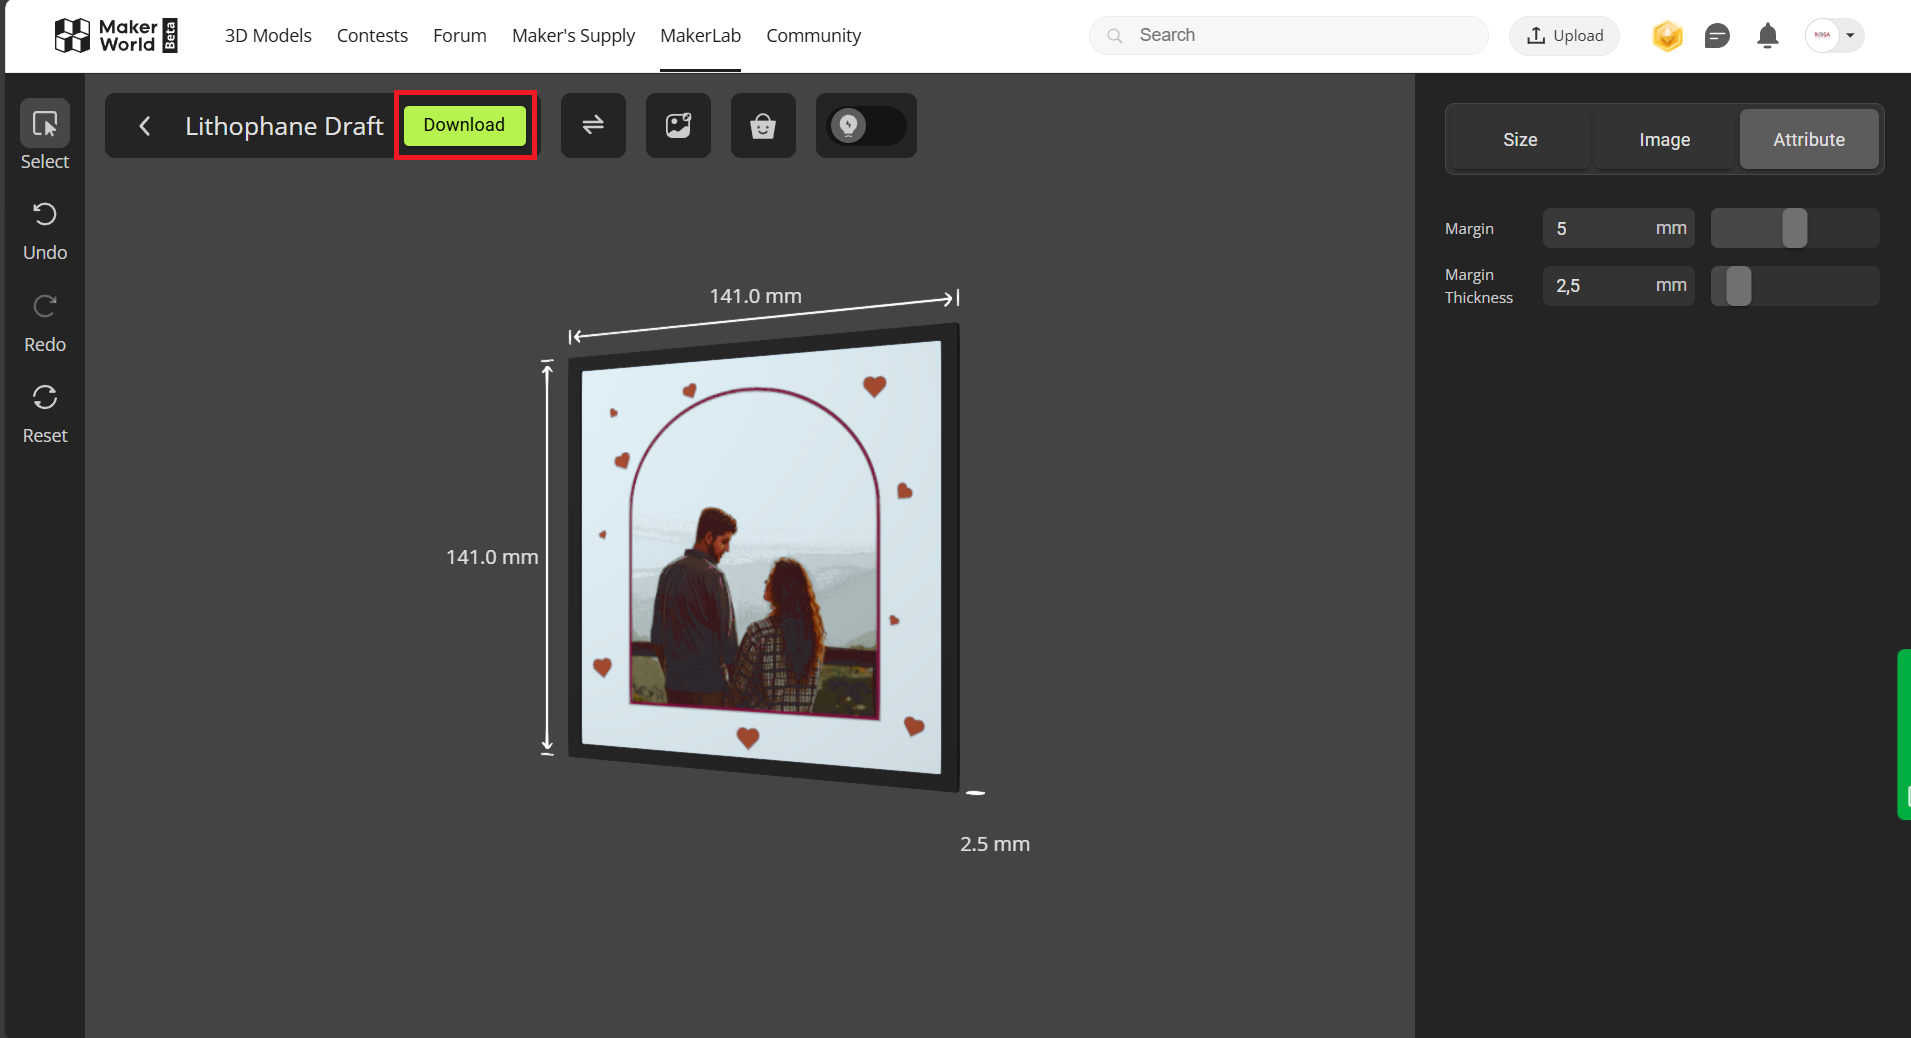
Once the lithophane has been modified, select Download.
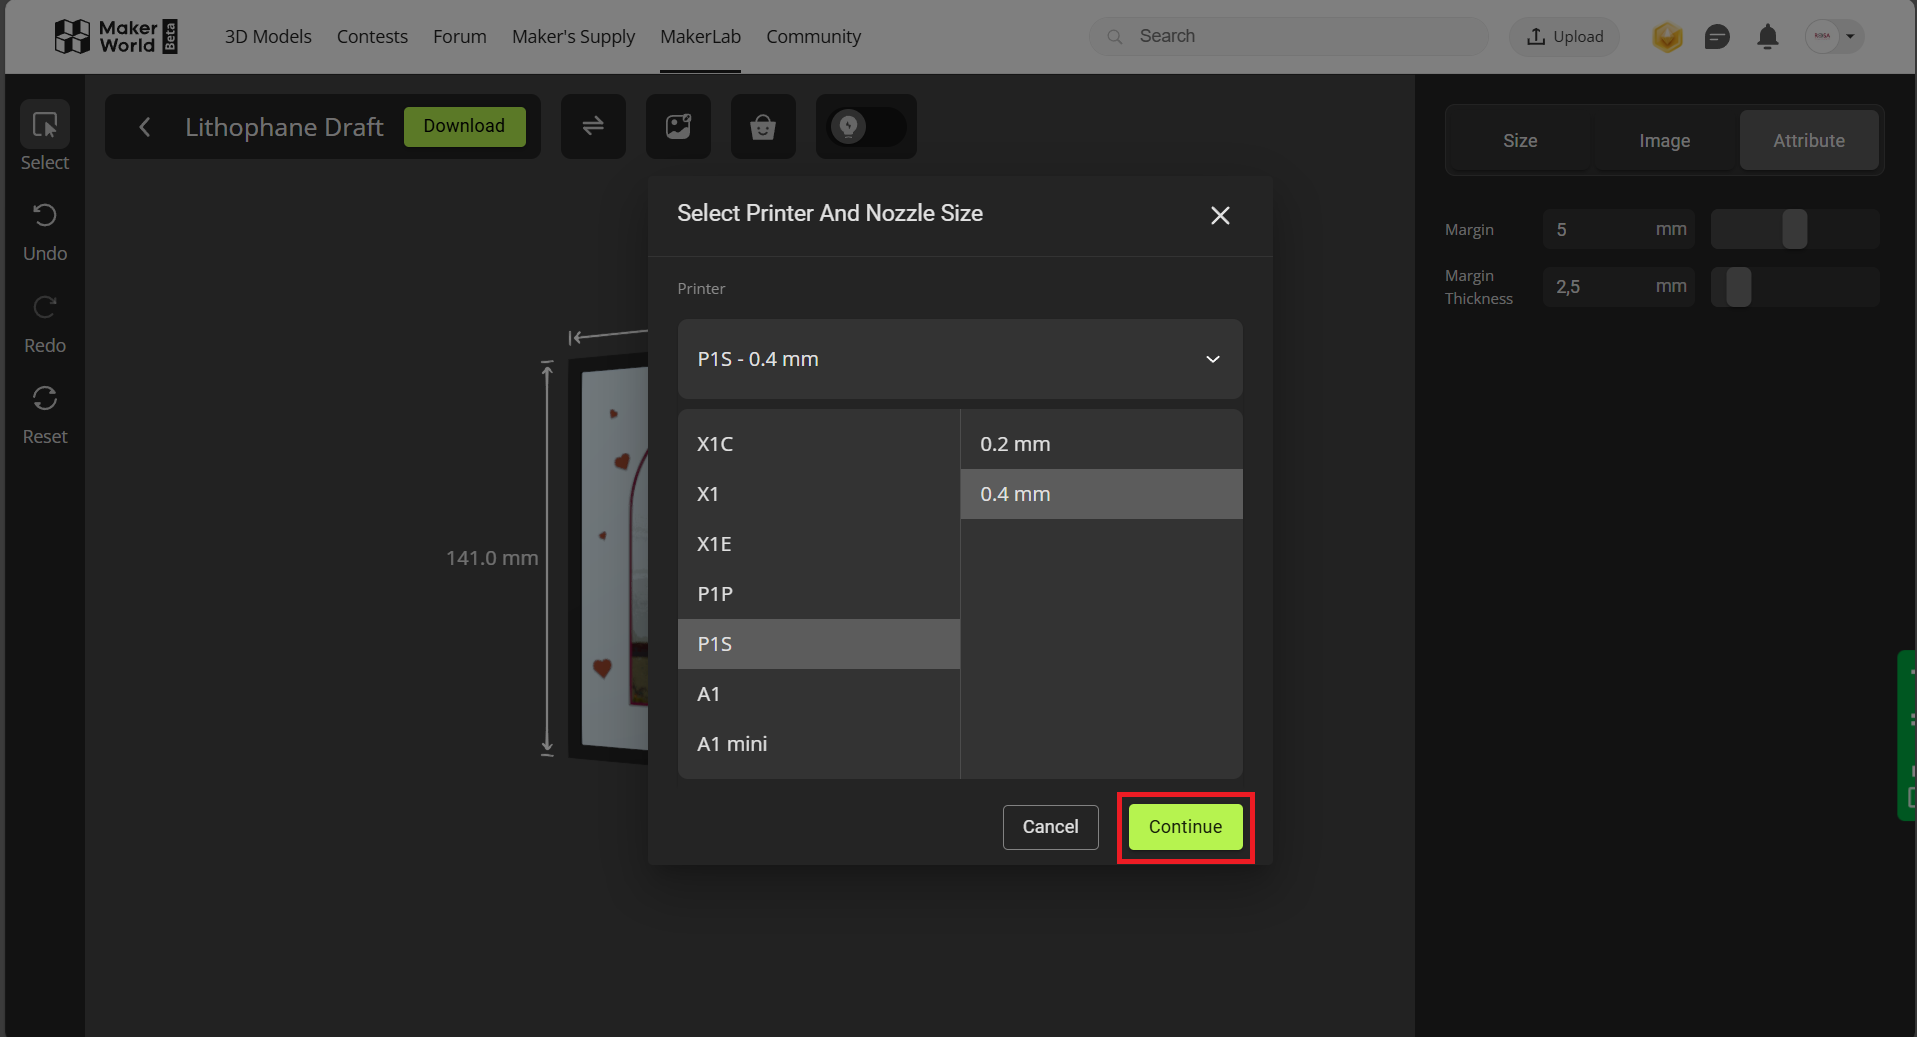
In the next window, select the printer model and nozzle size. For this project, choose P1S with a 0.4 mm nozzle. To confirm your selection, click Continue and wait for the conversion process to complete.
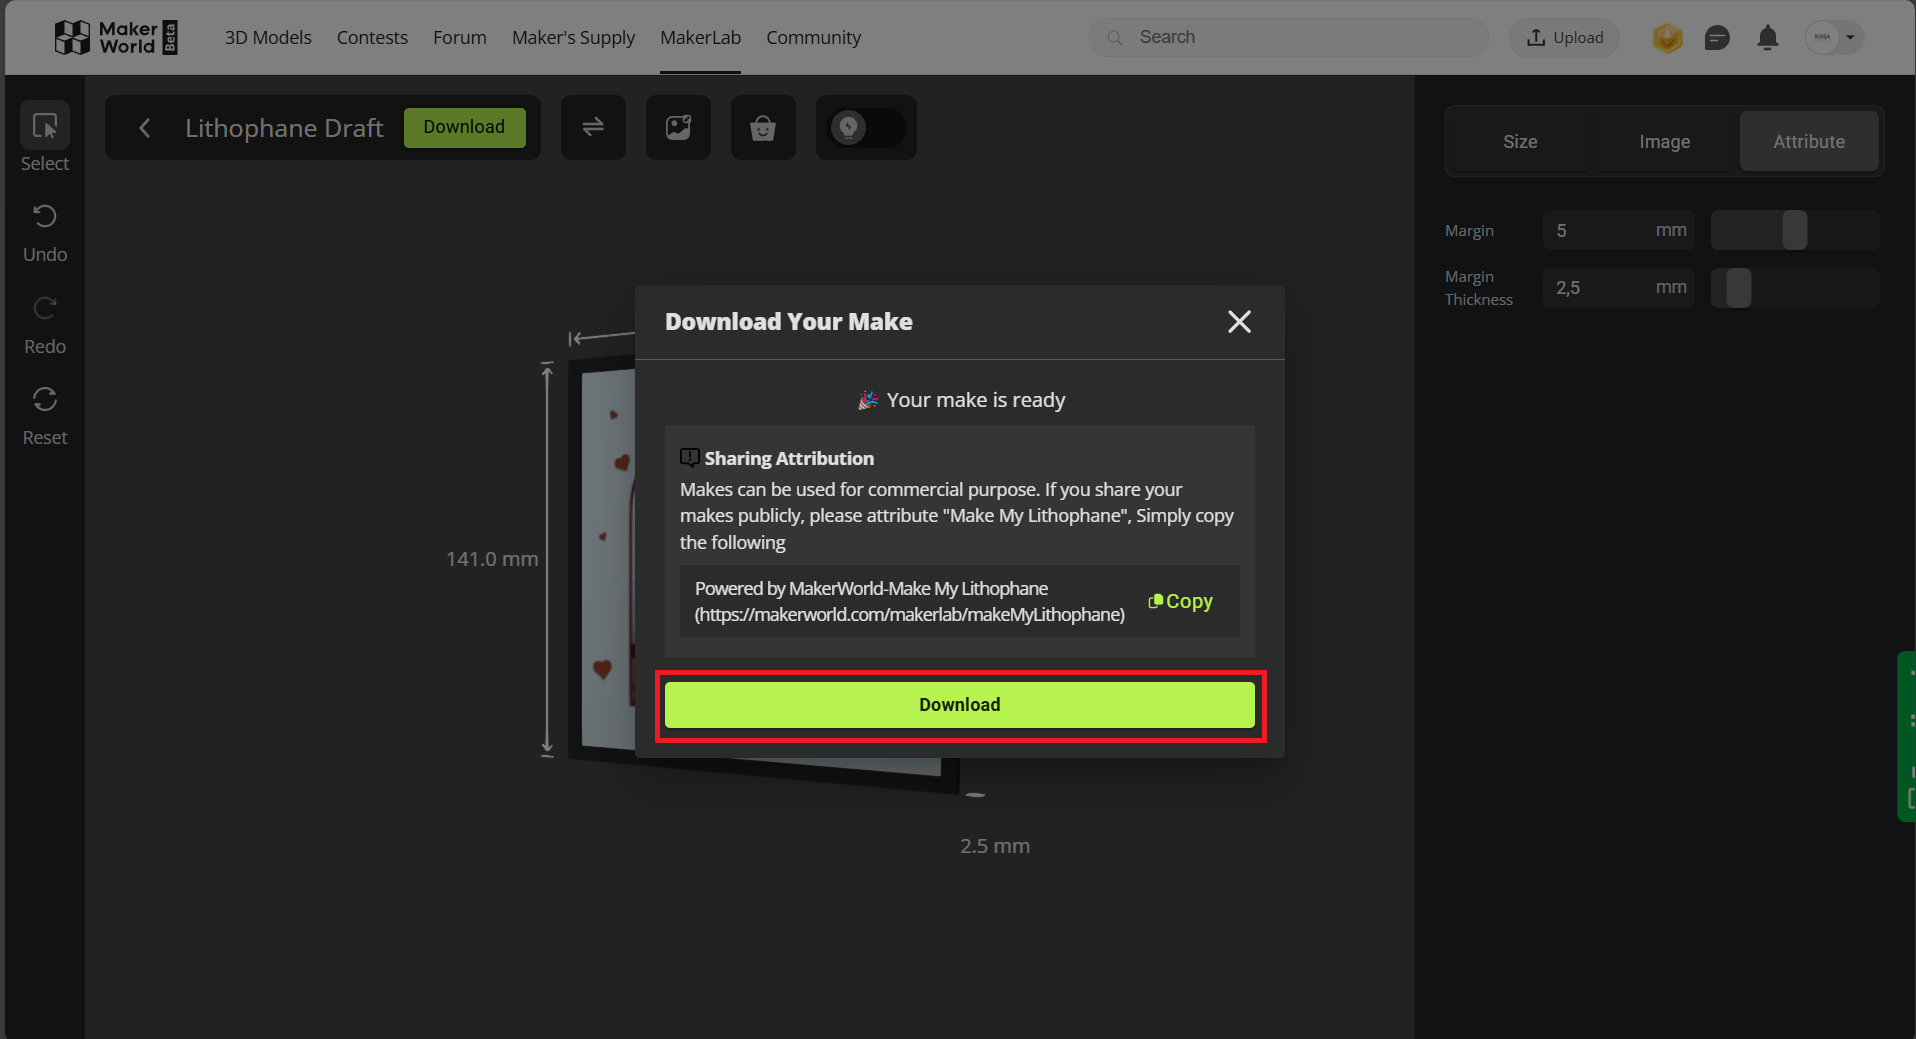
The image conversion process may take some time. Once it is complete, click Download and wait for the .3mf file.
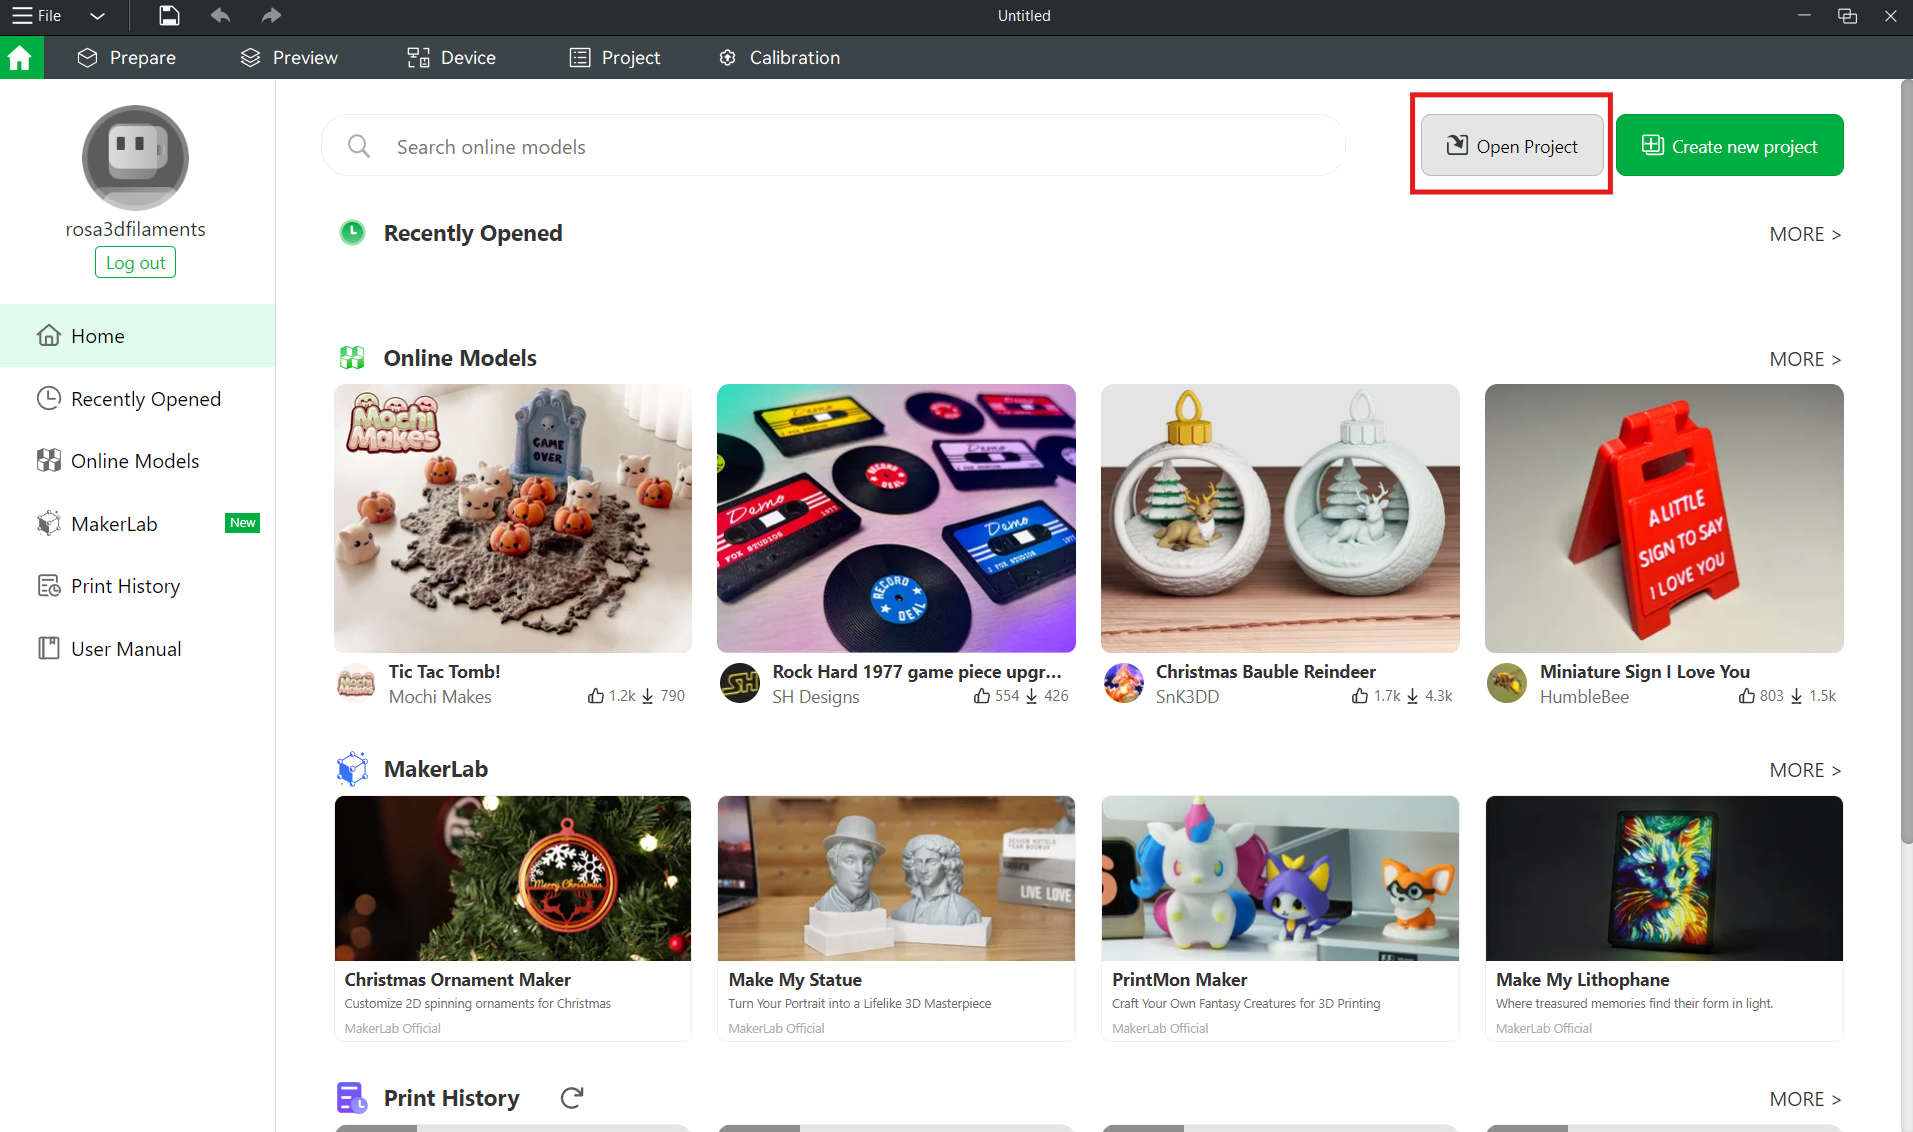
Next, open Bambu Studio and load the .3mf file by selecting Open Project.

After loading the file, pay attention to the filament section.
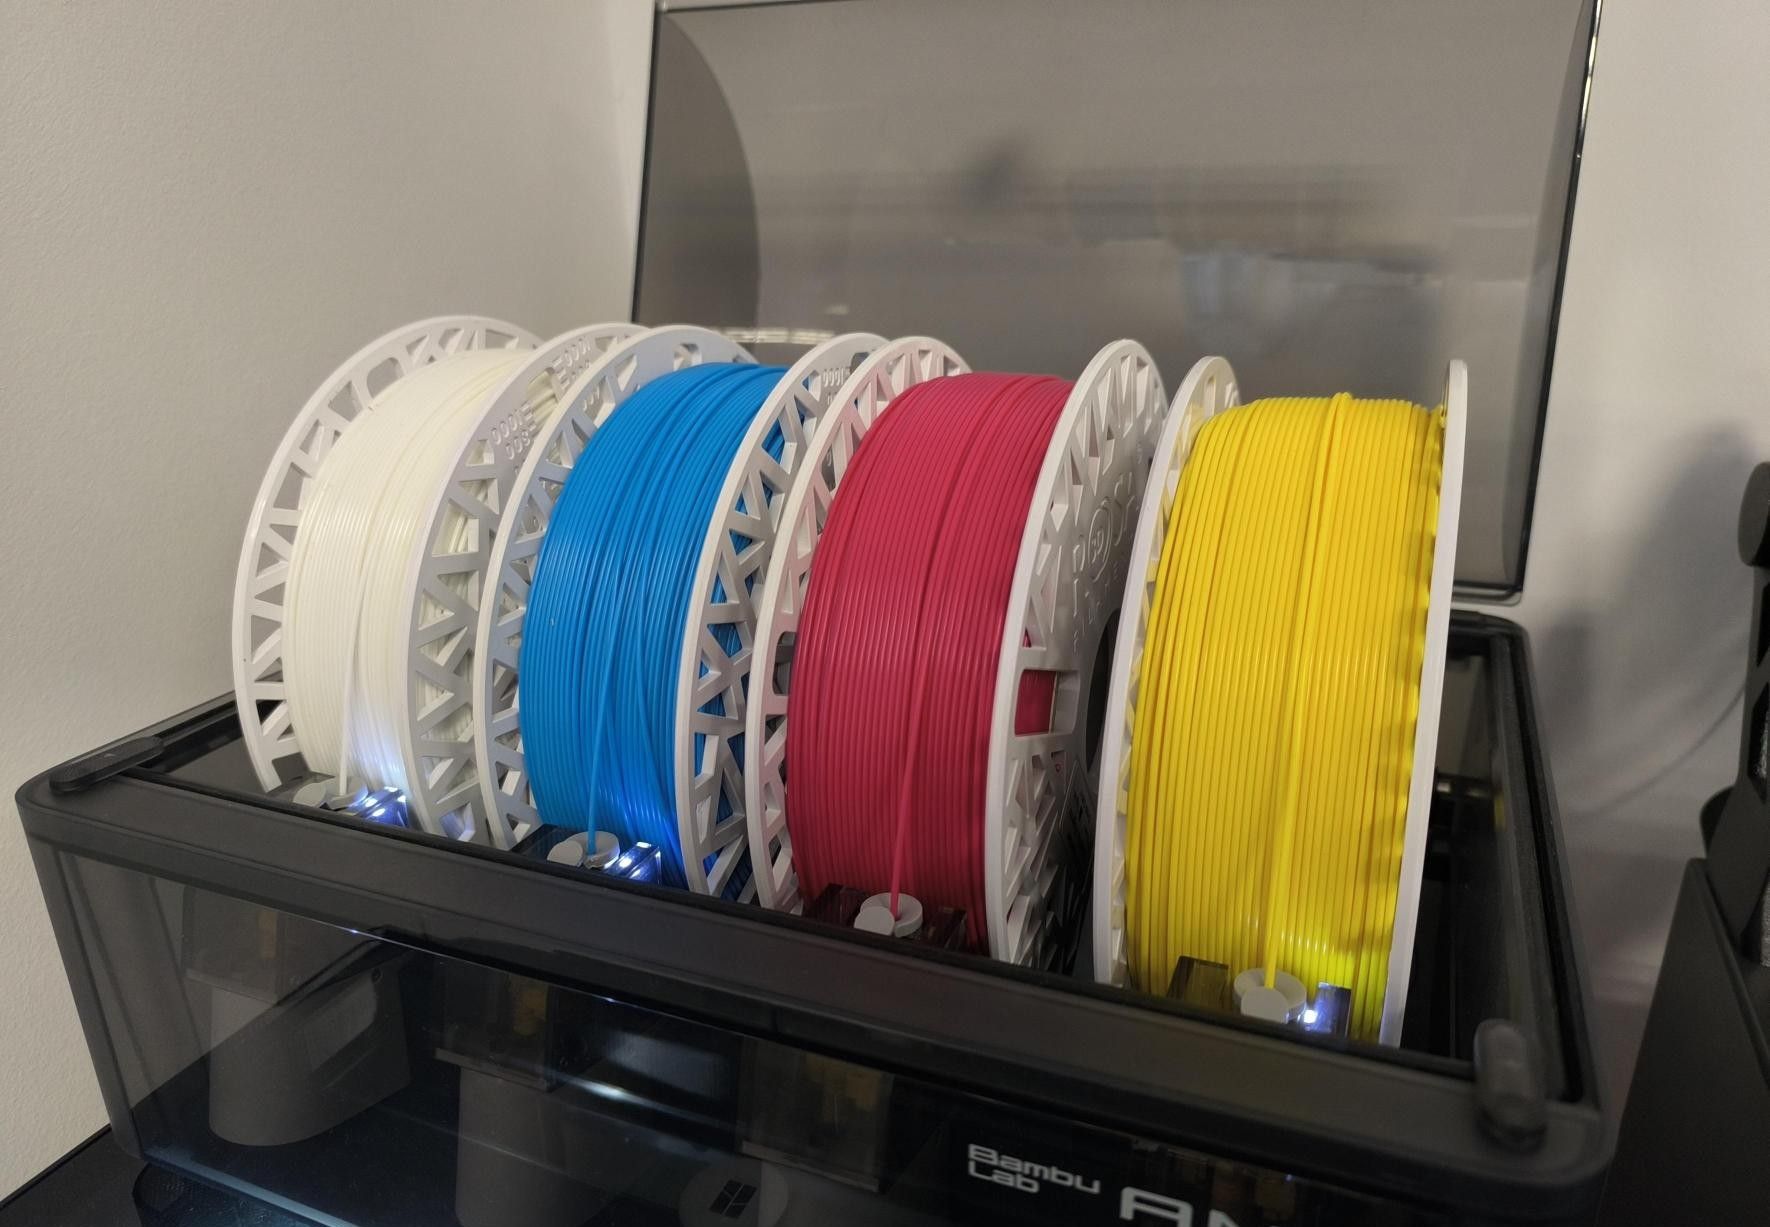
Load the filament in the exact order shown in the reference image. The sequence of colors is crucial for proper color blending and the creation of colors. Incorrect filament placement will result in an unsuccessful color lithophane.
If you are using Bambu Lab filaments, you can slice the model and send it for printing. However, if you are using ROSA3D PLA Starter Lithophane CMYK or other filaments, you need to follow additional steps described below:
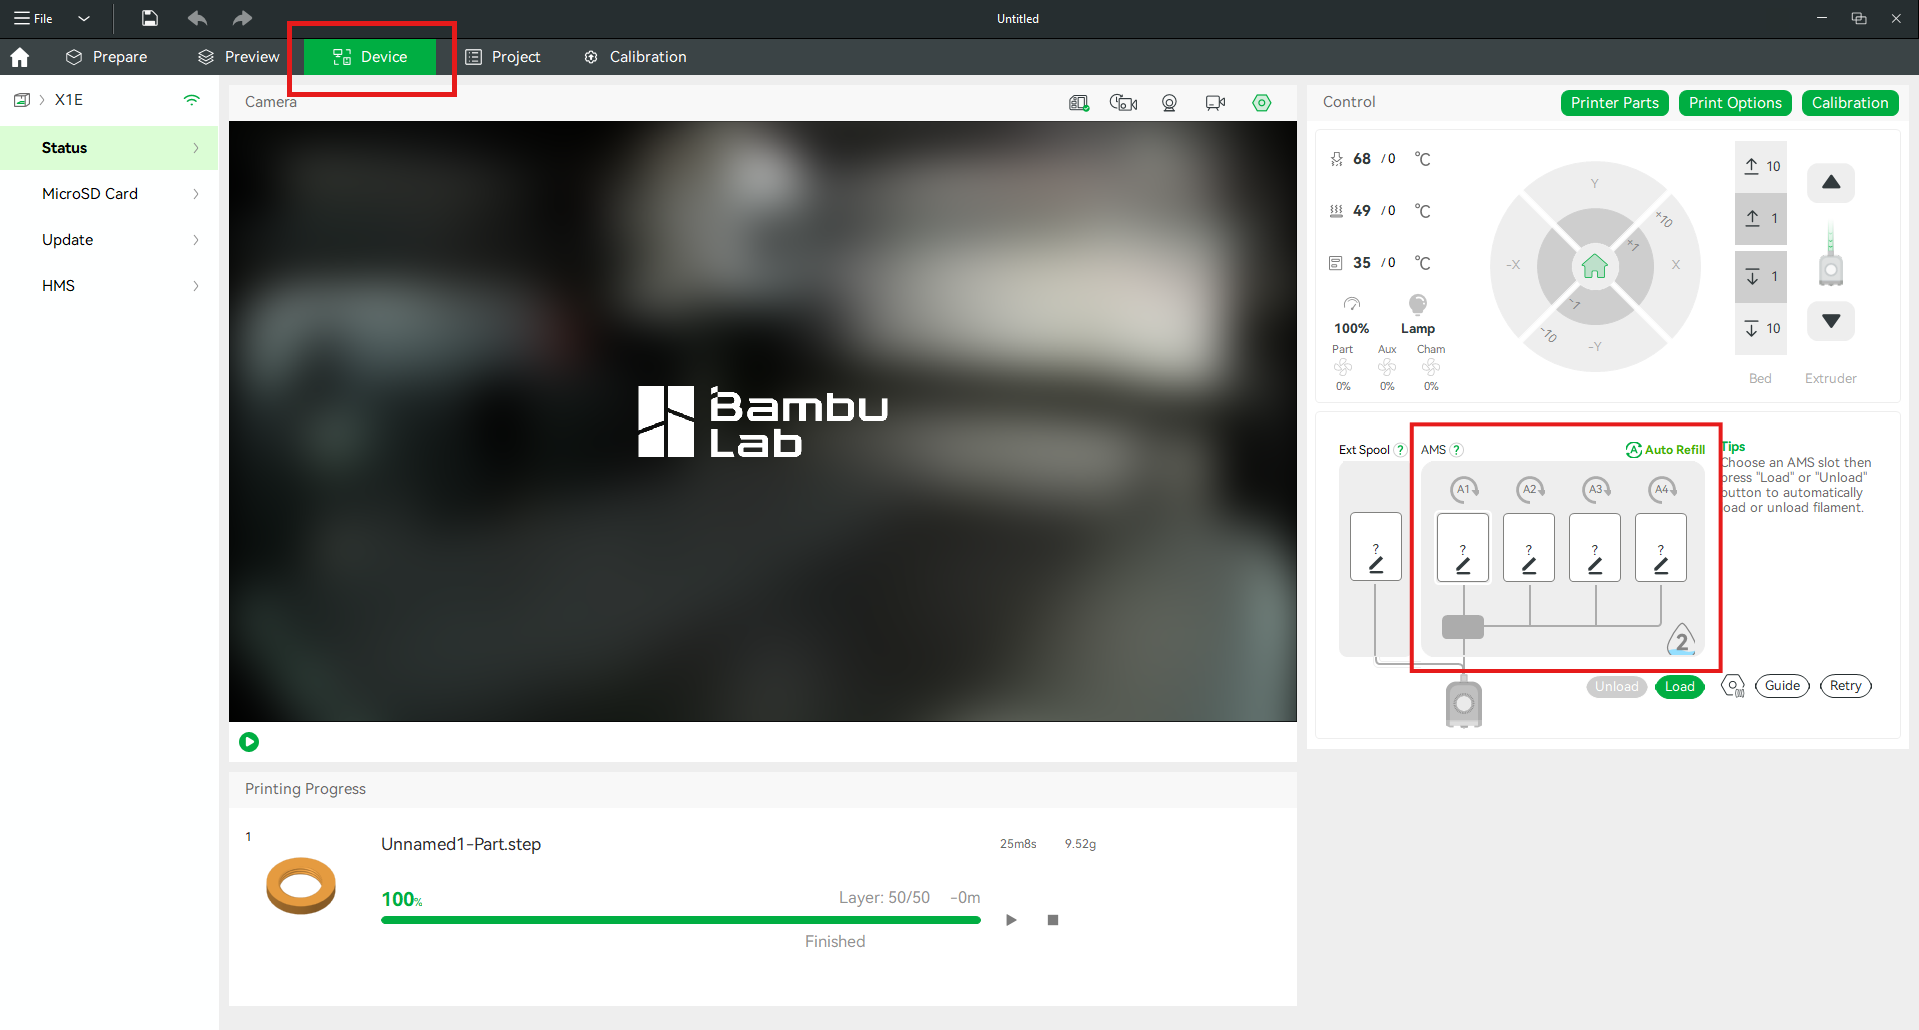
In the Device tab, go to the AMS section and edit the material settings.
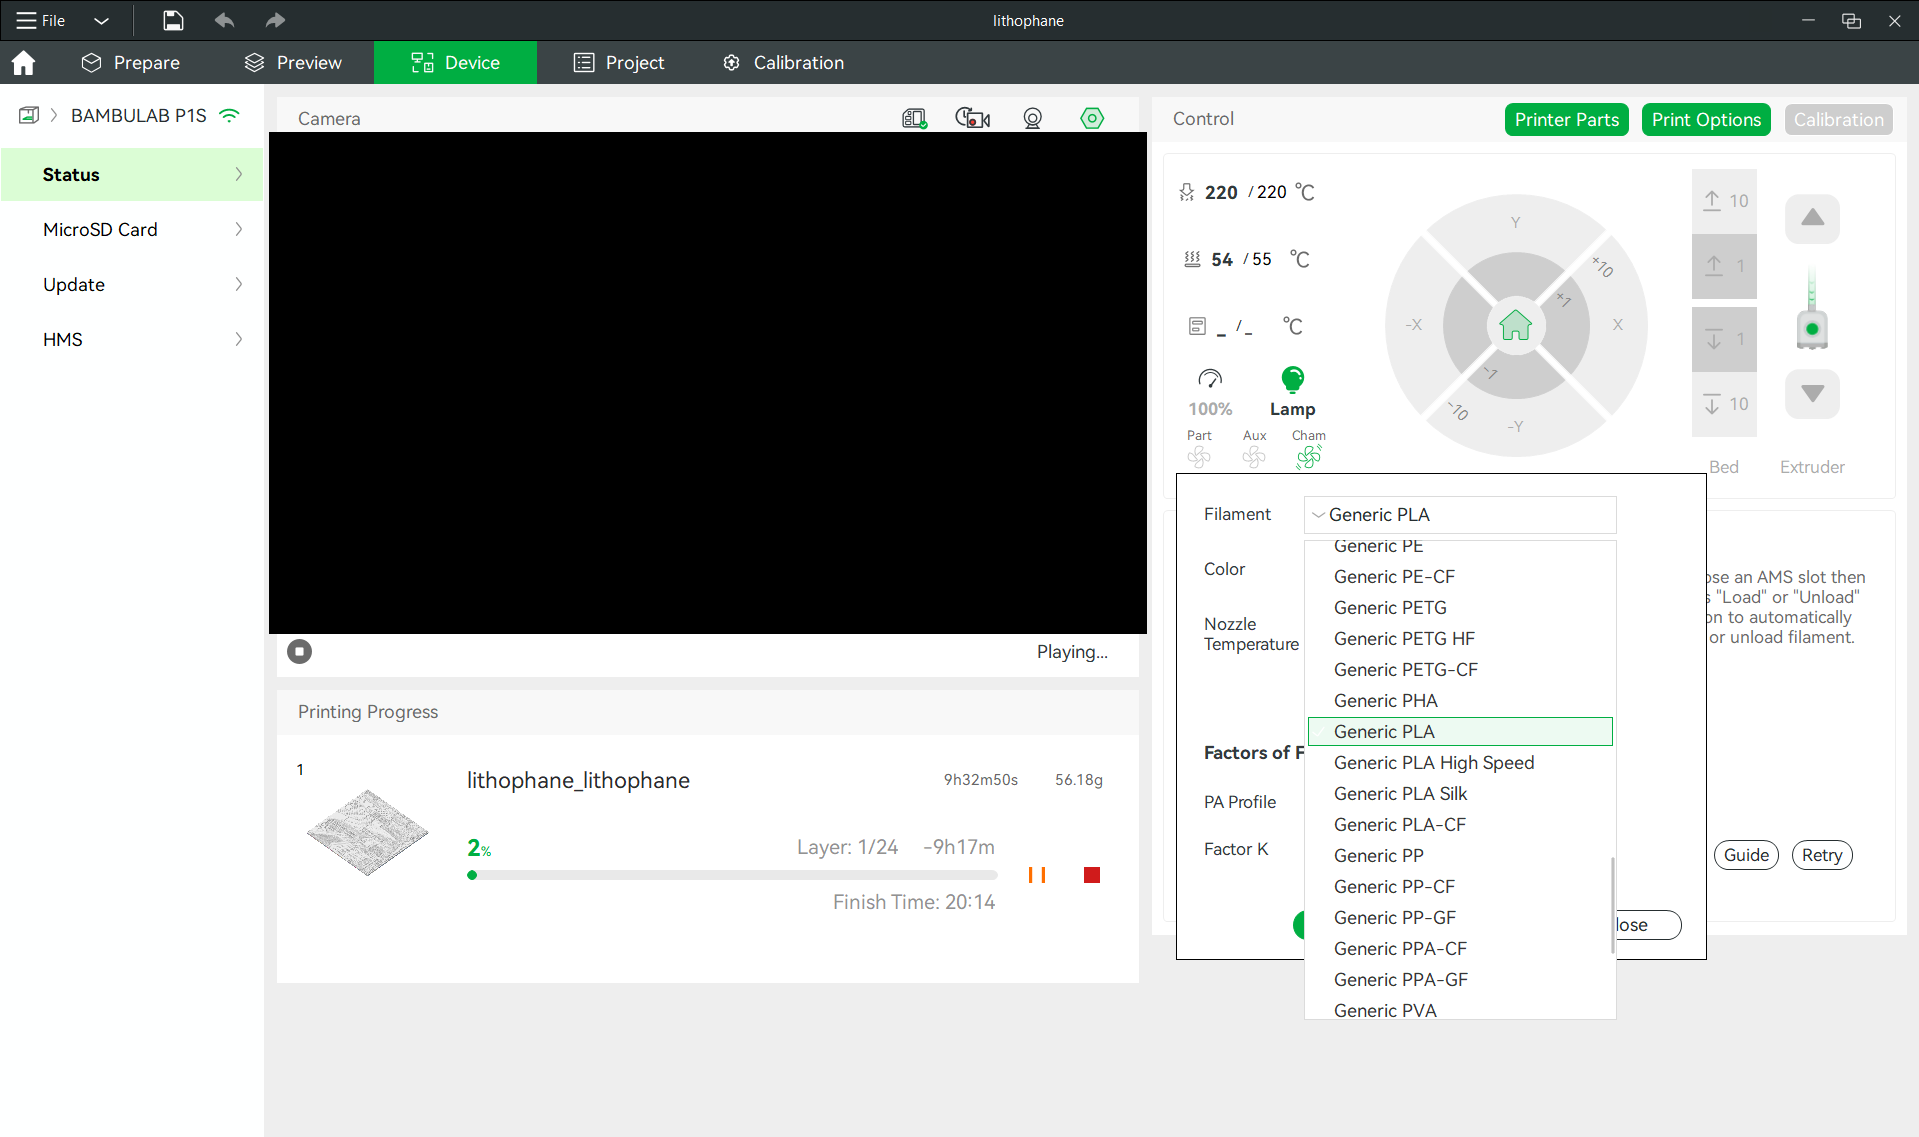
After clicking the pencil icon, a window with material options will appear. From the list of filaments, select Generic PLA.
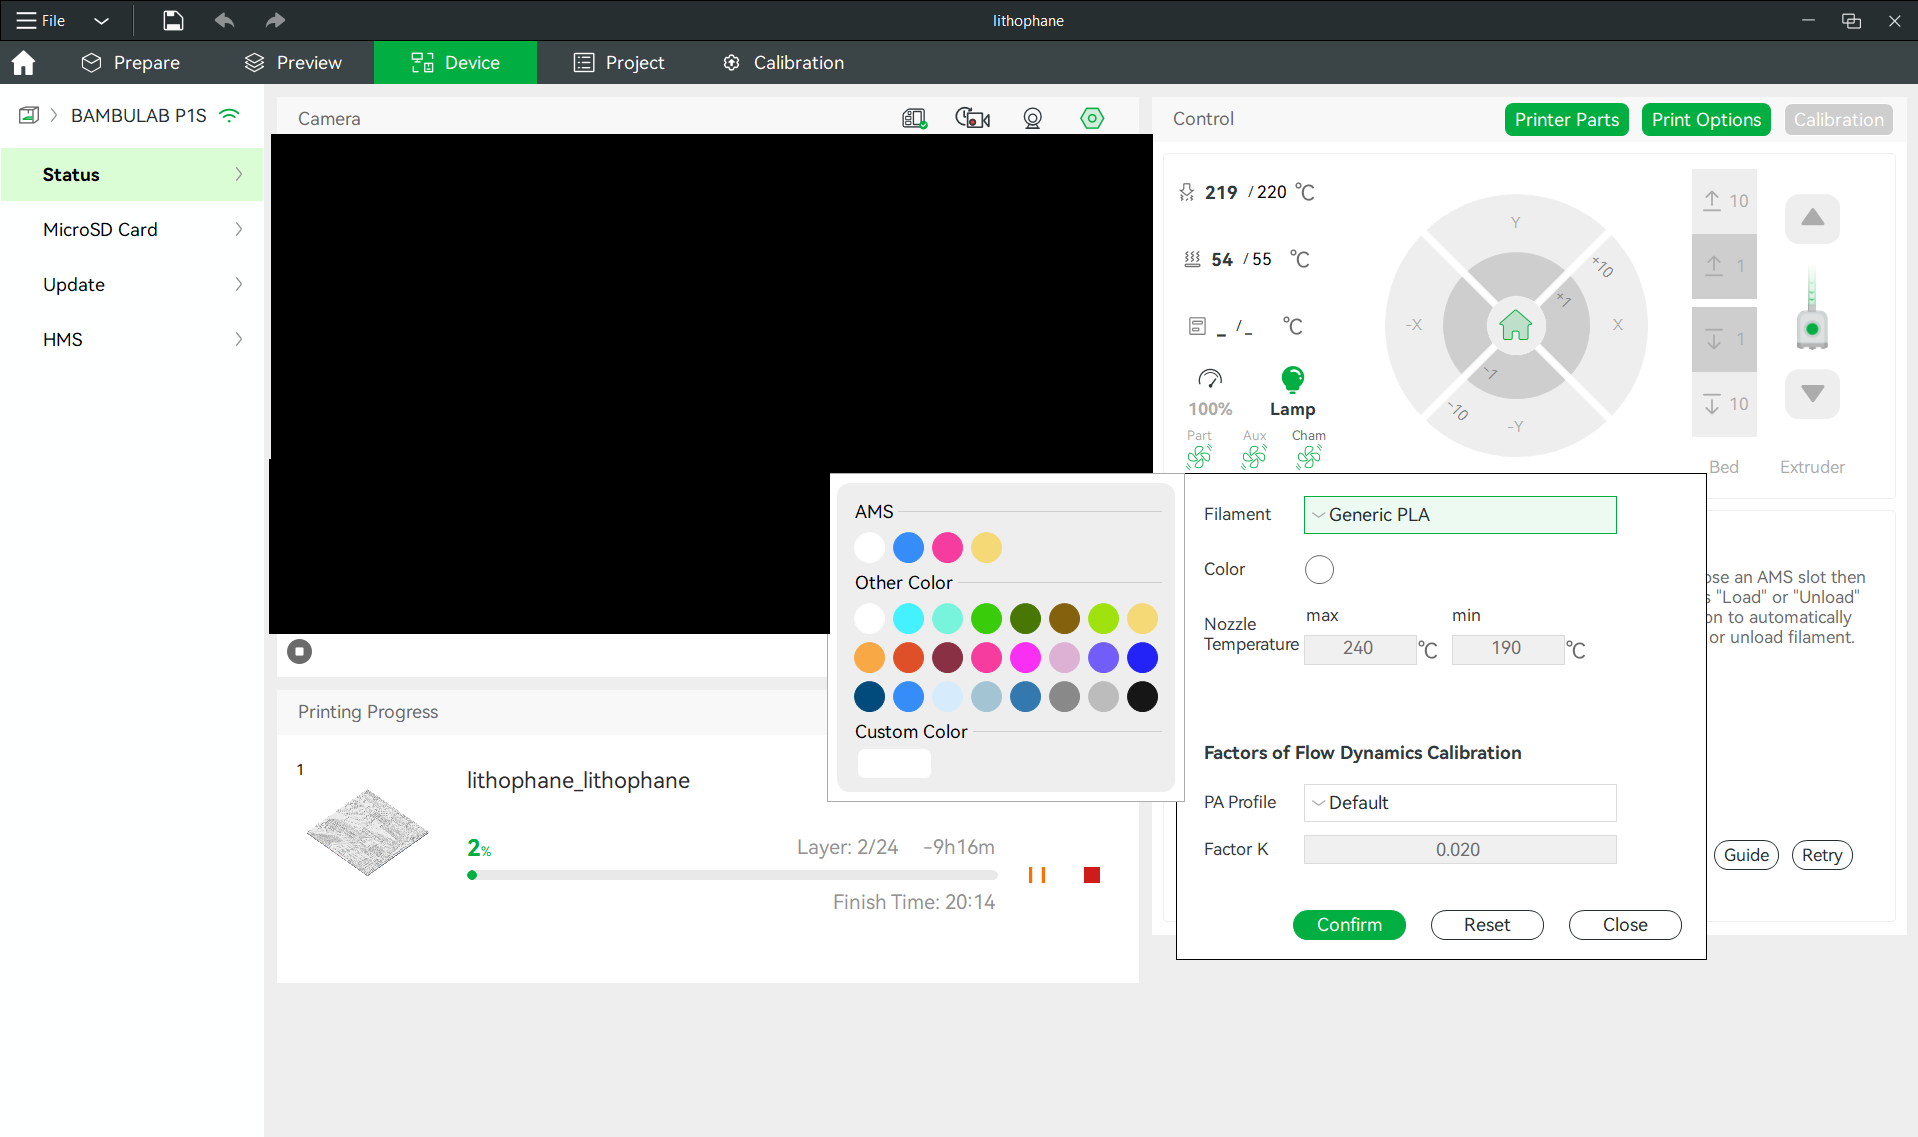
In the Color section, select the color that matches the filament material. To accept the changes, click Confirm.
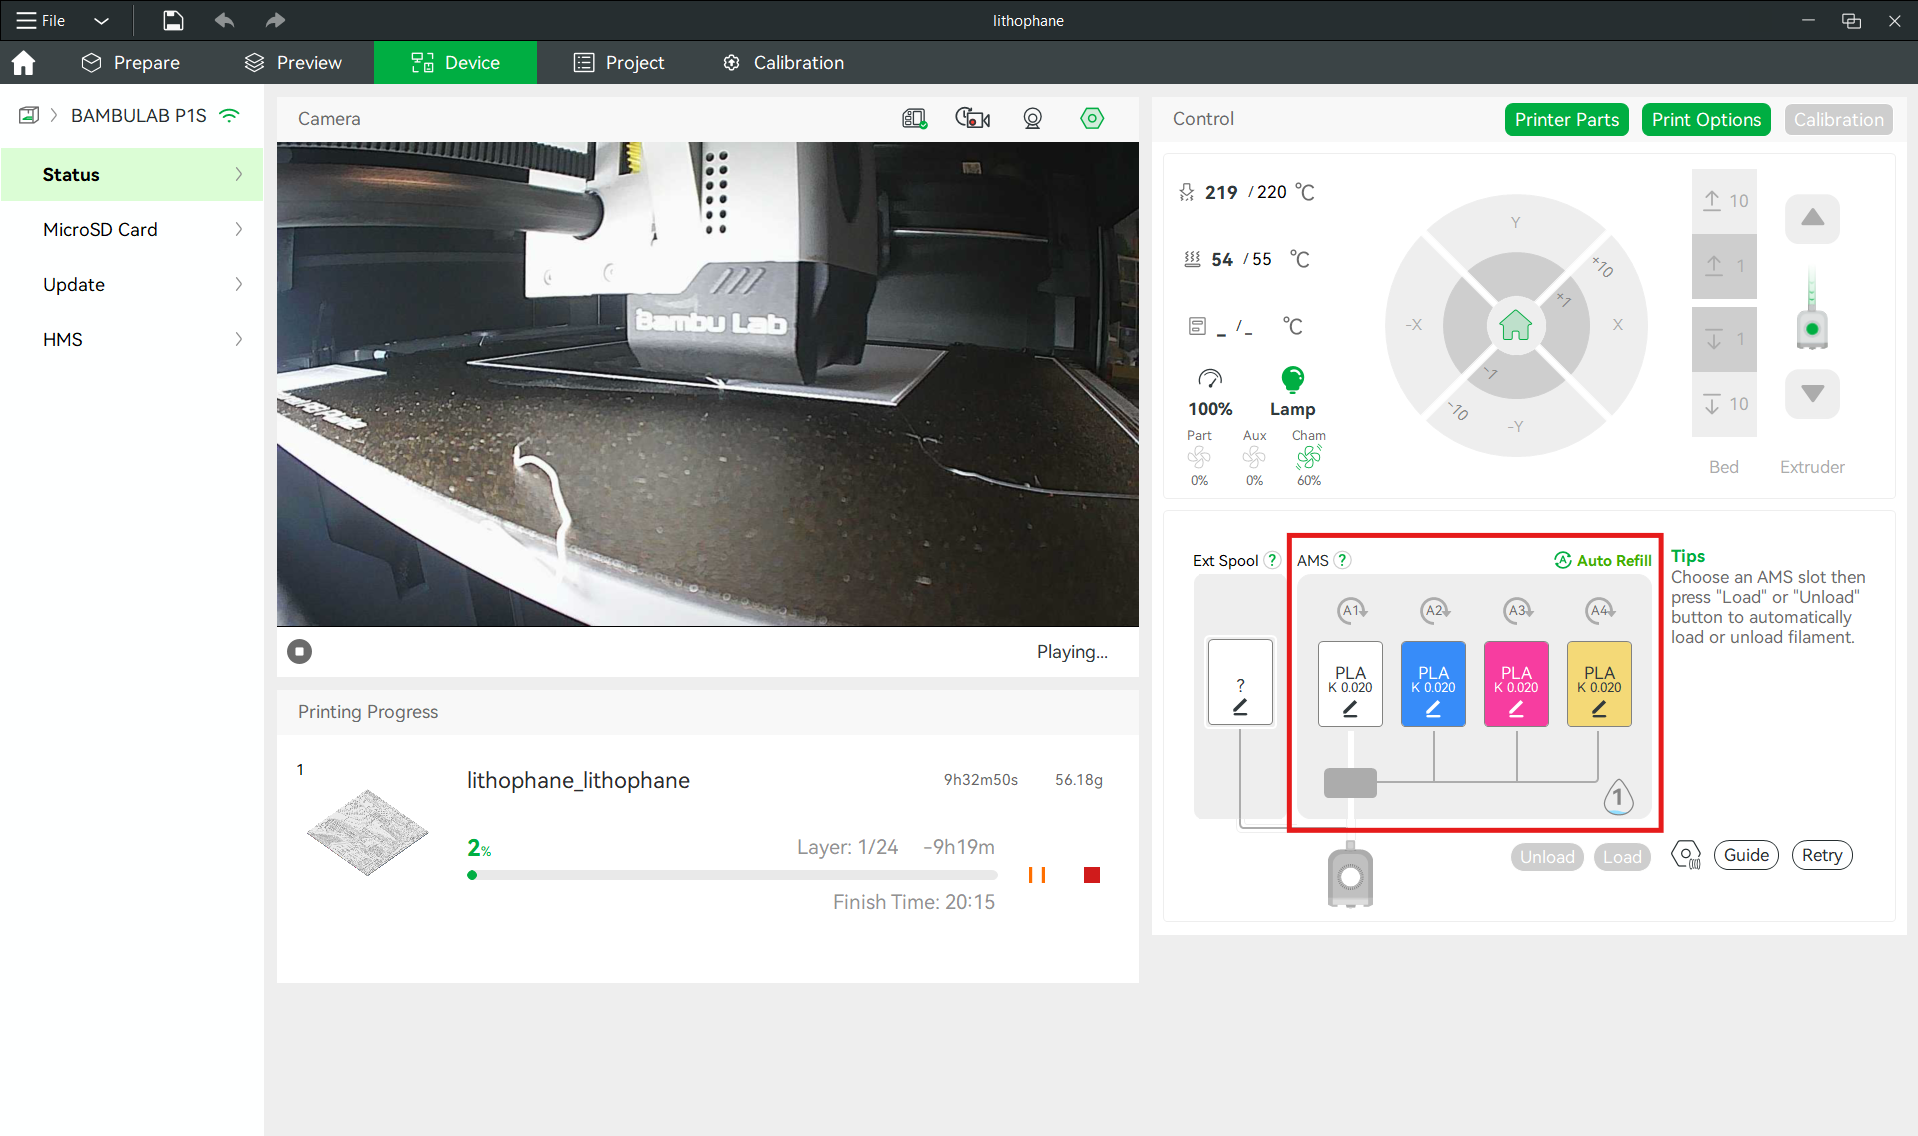
If the colors have been correctly edited, the AMS section should match the reference image above.
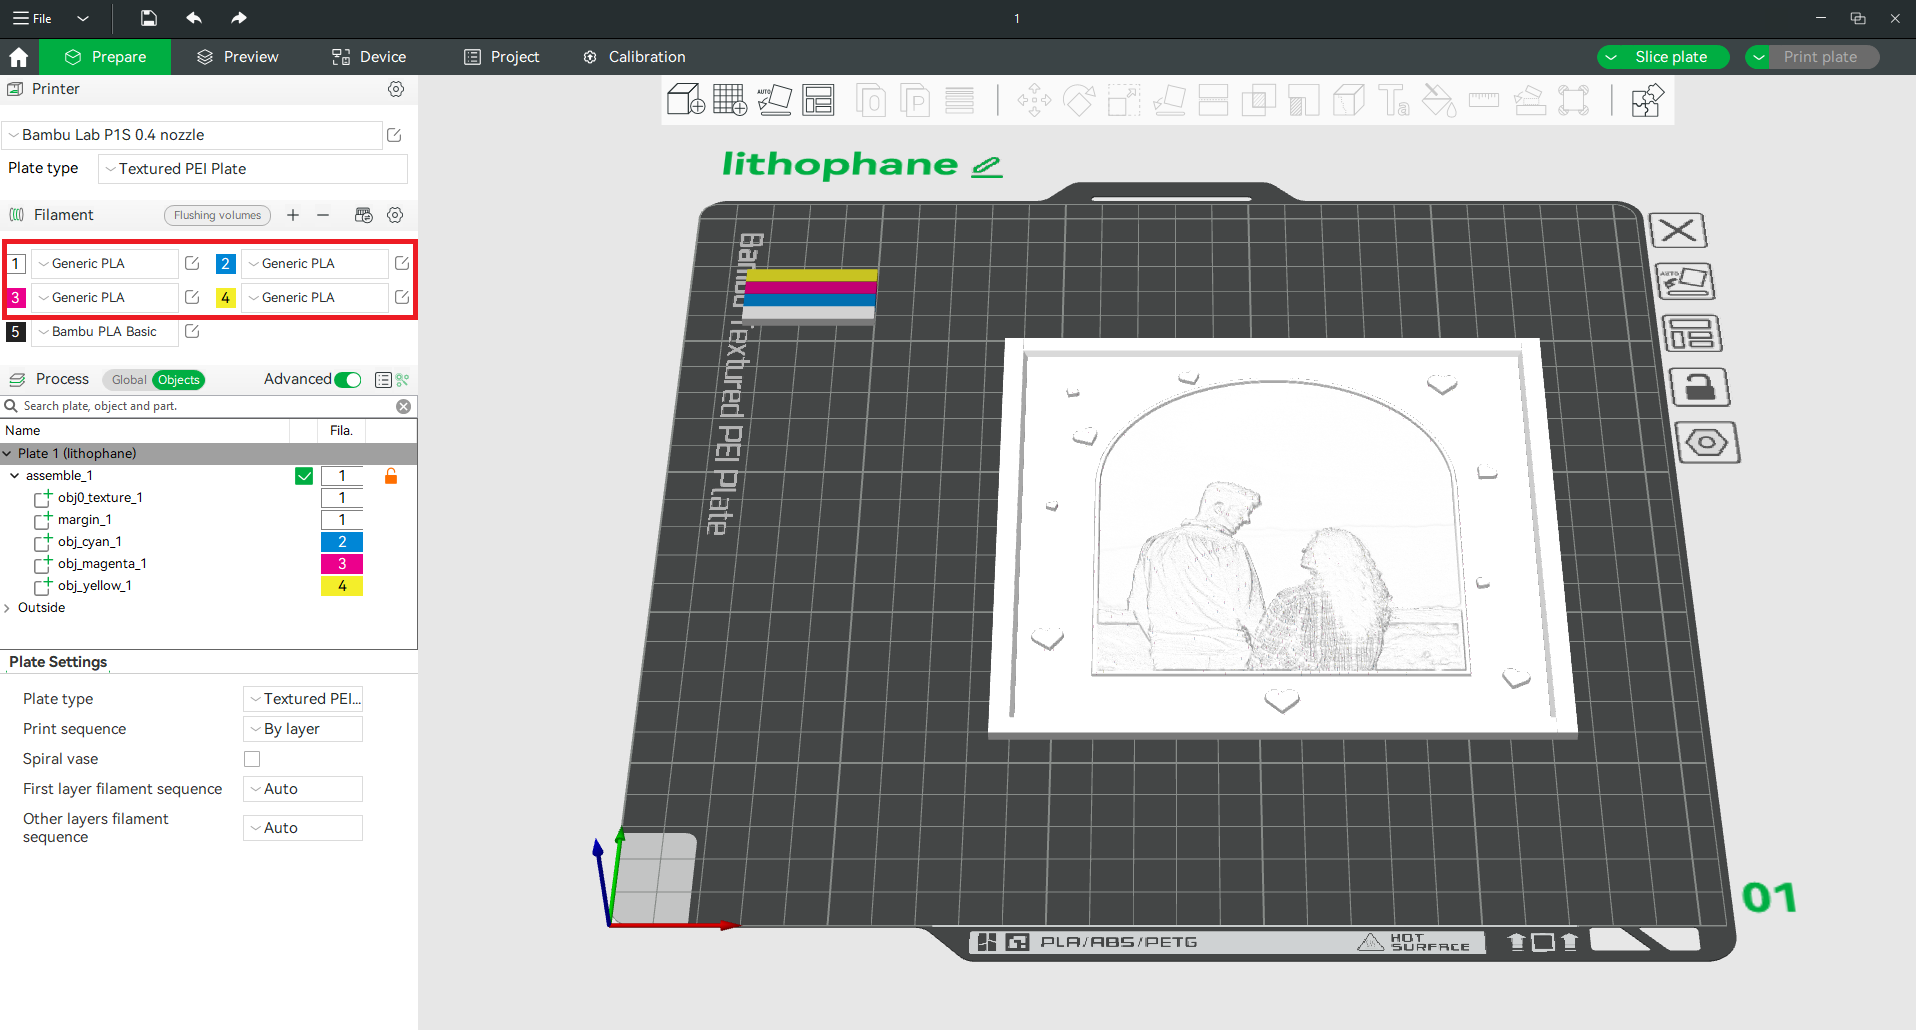
In the Prepare tab, select the materials according to the reference screenshot. Once the model is properly set up, slice it and send it to the printer for printing.
Bill of materials
The lantern consists of 4 lithophanes and:
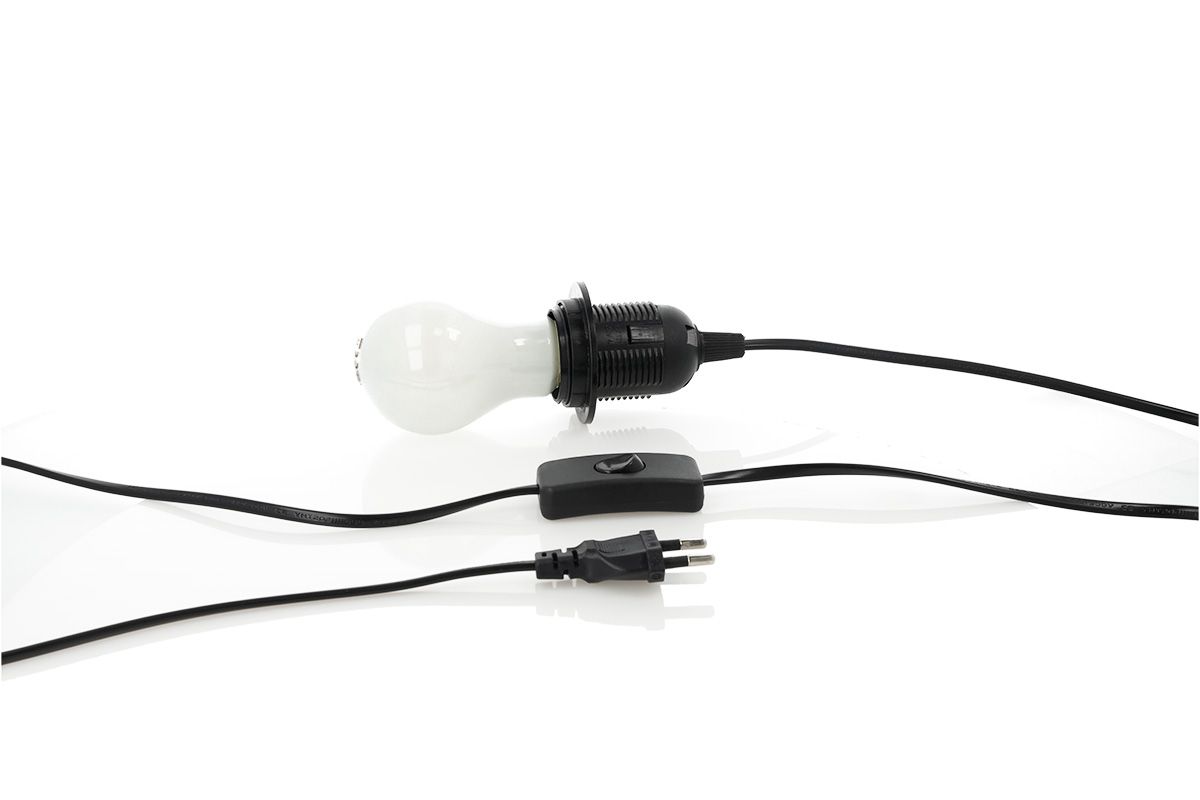
A bulb mounting holder with an E27 LED bulb and a switch.
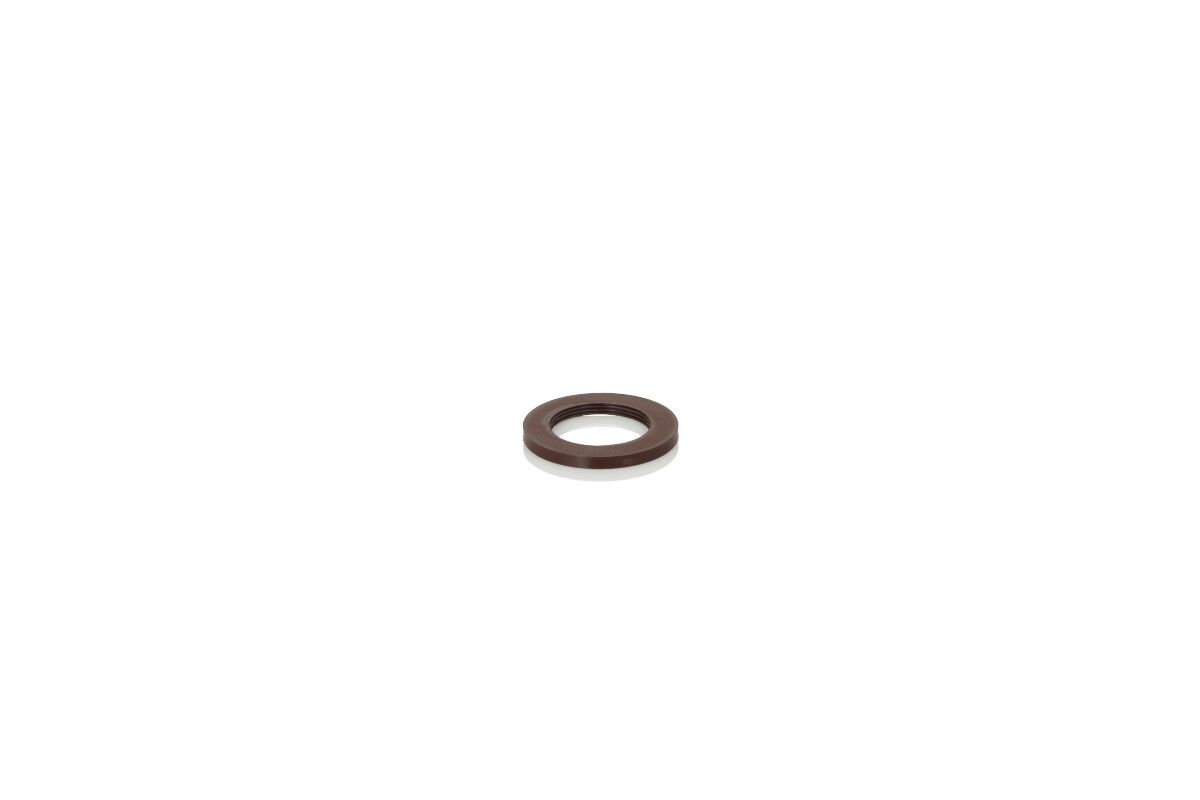
Mounting disc
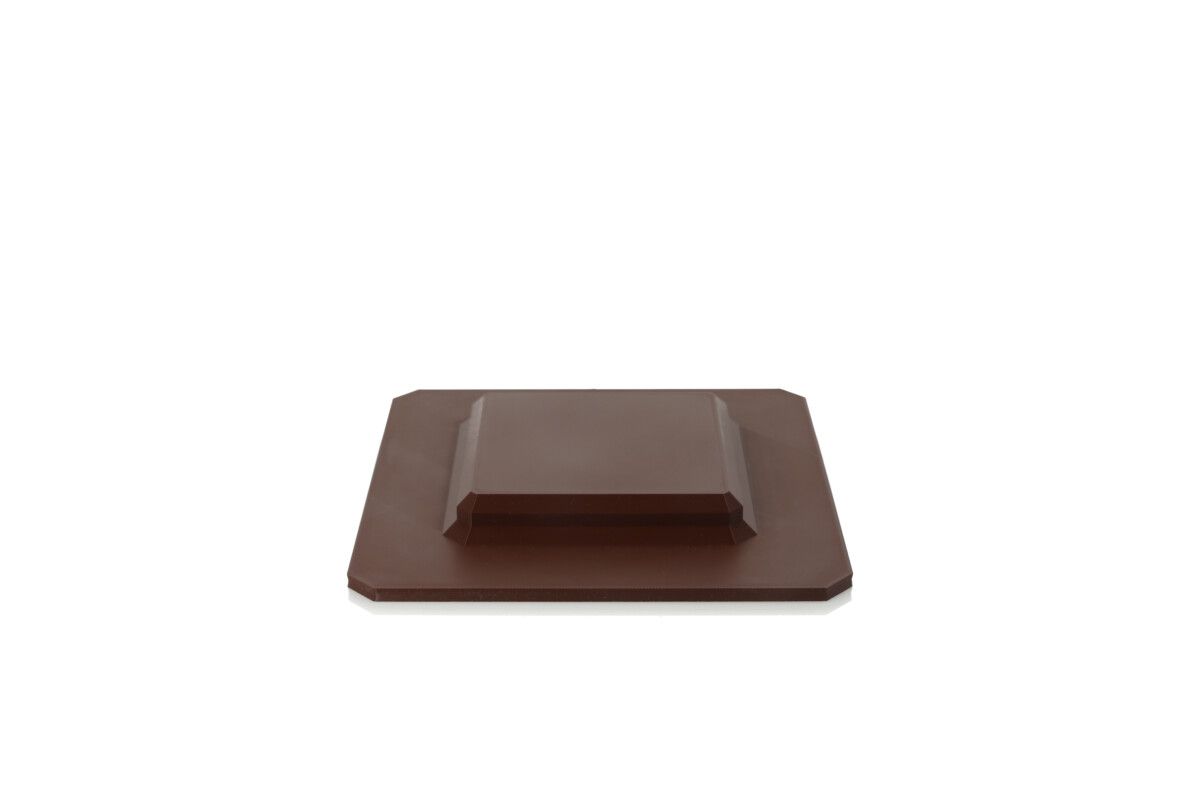
Lantern lid
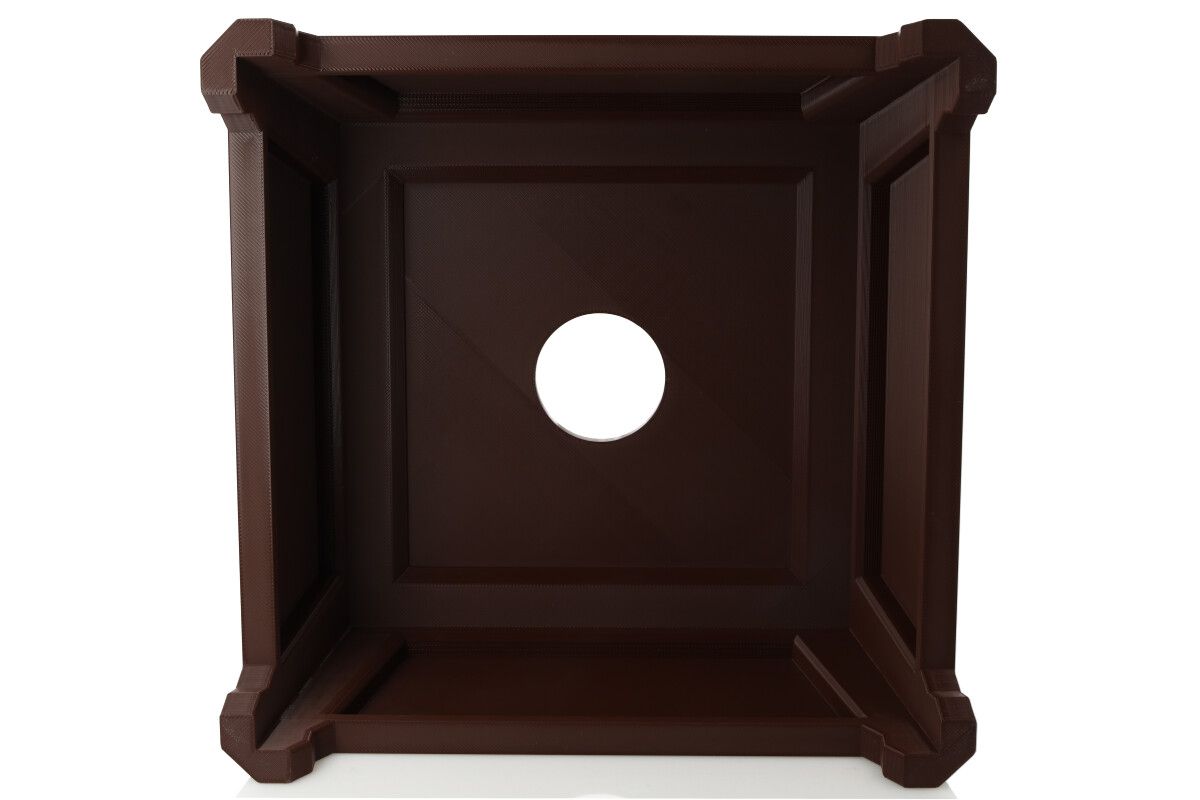
Lanterna Base
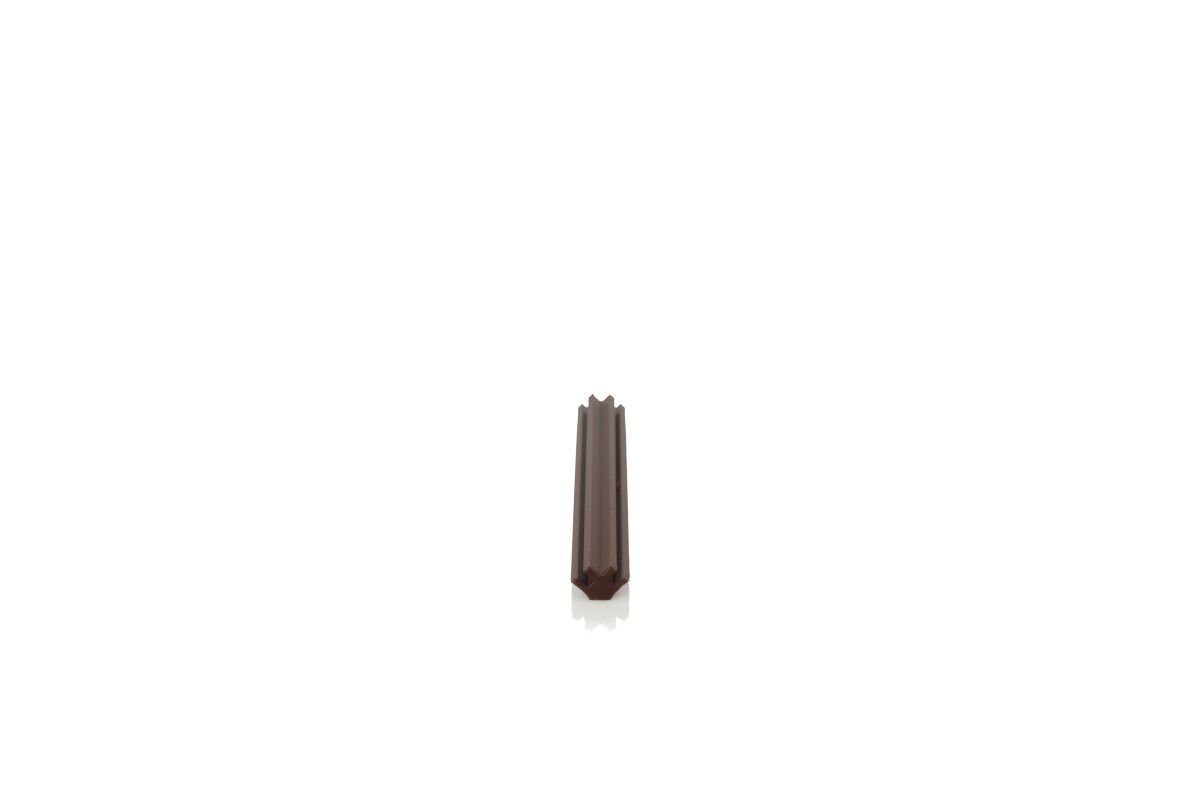
Lantern column – print 4 columns
Assembly
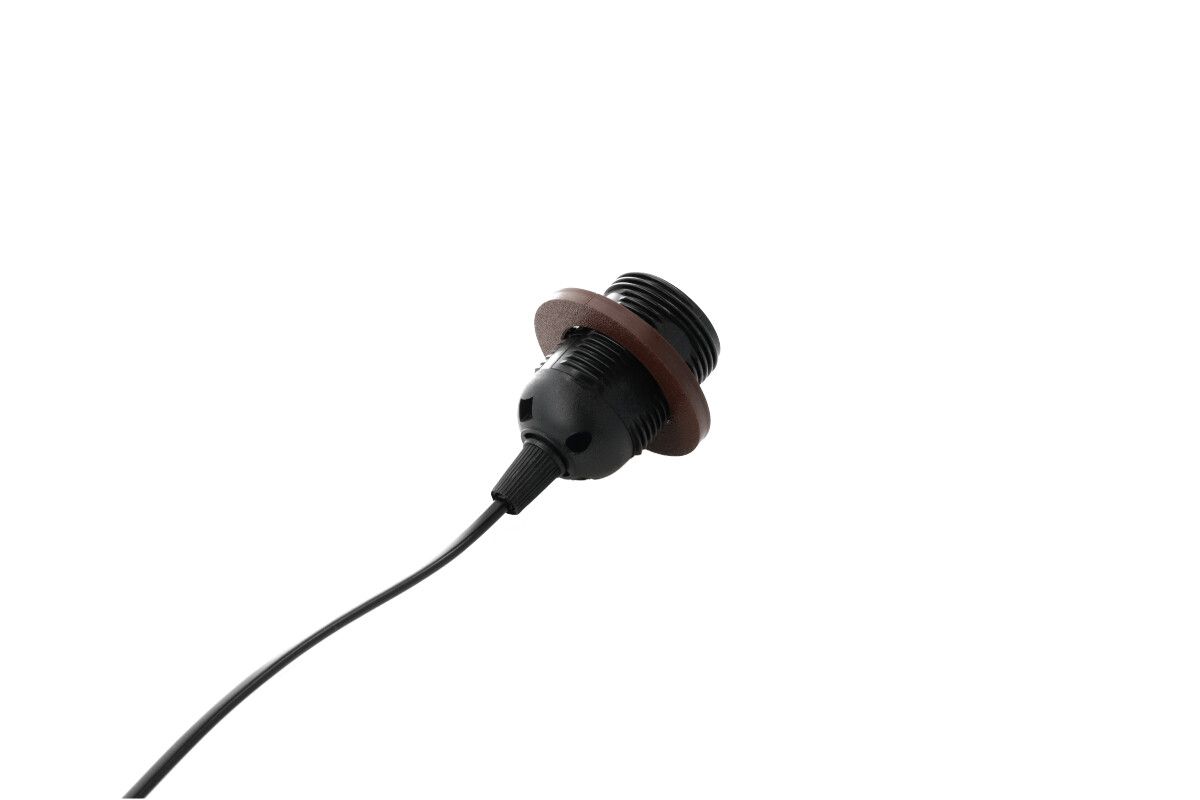
First, screw the printed disc into the mounting fixture approximately halfway.
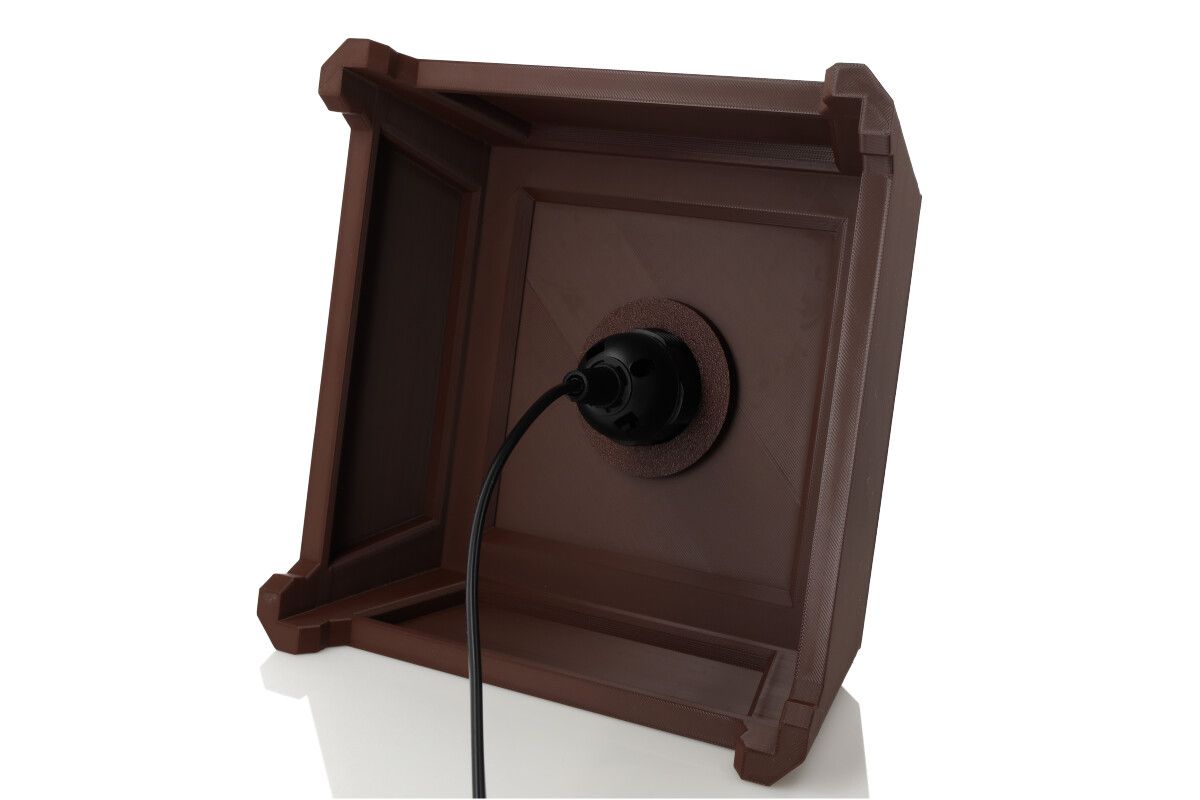
Next, insert the fixture with the disc from the bottom into the base.
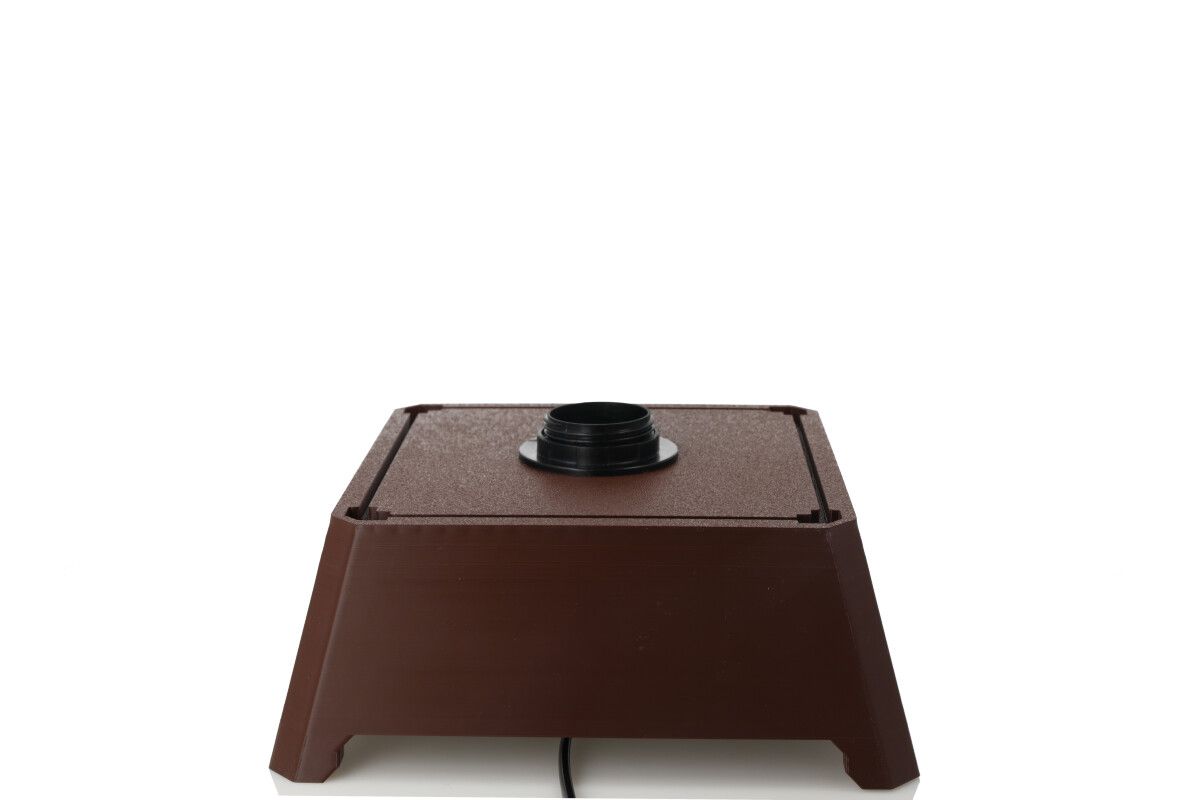
Then, screw in the disc included with the fixture from the top.
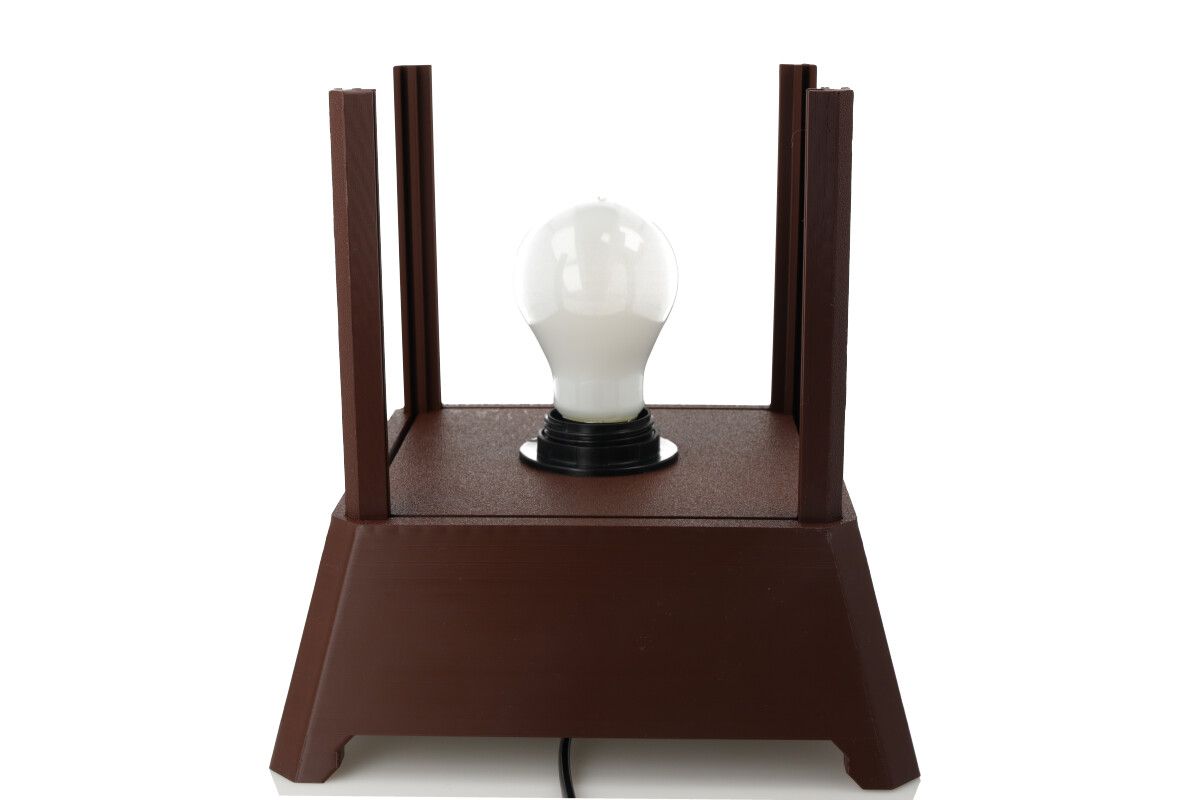
Next, screw in the LED bulb into the fixture and insert the collumns into the holes in the base. If additional stability is needed, apply a small amount of super glue to the columns holes to increase the rigidity of the lantern.
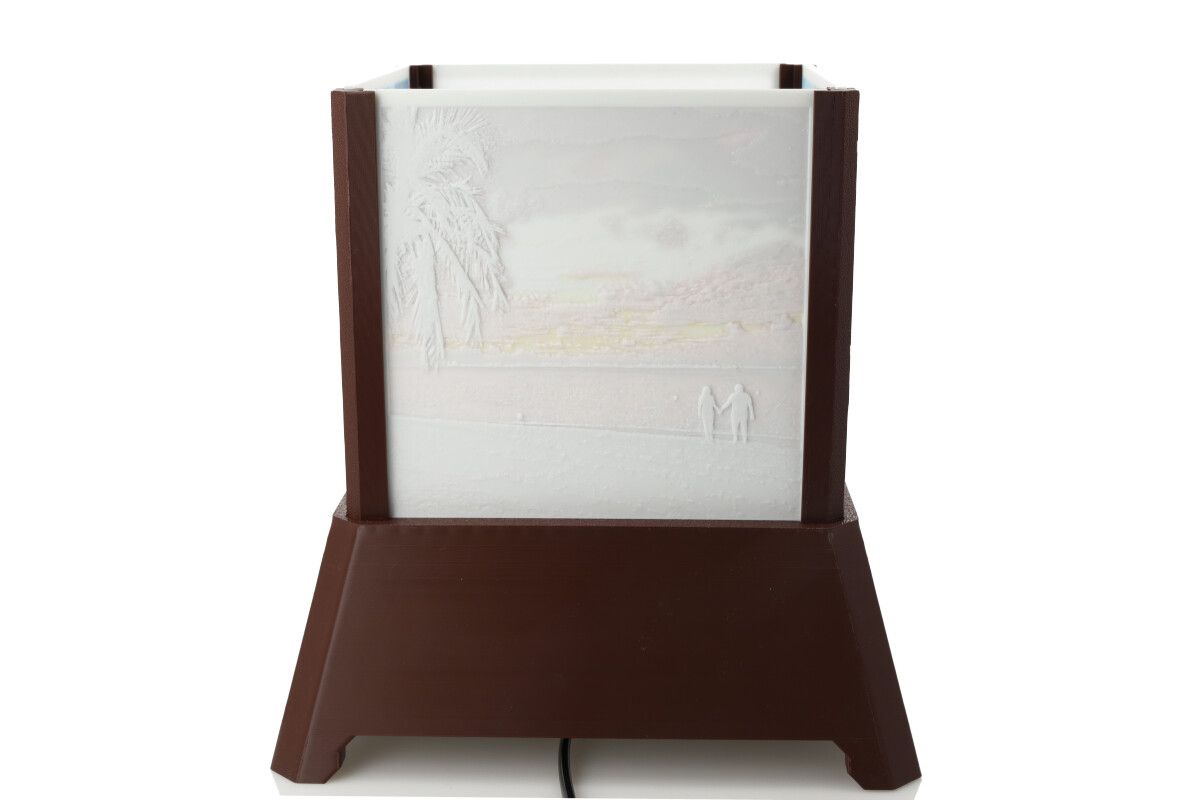
Next, insert the lithophanes into the designated slots.

Finally, cover the lantern with the lid.
It is so easy!
Building your own night lamp with colorful lithophanes is simple and budget-friendly. Our ROSA3D PLA Starter Lithophane CMYK set ensures accurate color reproduction and hassle-free printing. This unique lamp also makes a great gift for your loved ones!
ROSA PLAST SP. z o.o.
ul. Hipolitowska 102B
05-074 Hipolitów, POLAND
Email
eshop@rosa3d.pl
Our team is at your disposal on working days during the hours:
od 7:00 do 15:00
Follow us